News:

Forum may be experiencing issues.

Main Menu
Menu

Show posts

This section allows you to view all posts made by this member. Note that you can only see posts made in areas you currently have access to.

Show posts Menu

Topics - Fastocker

#1
Open Discussion / February 2013 Build Contest PIF >>
March 16, 2013, 01:29:36 AM
OK guys, maybe we'll start a cool little tradition here . . .

To thank MB for the monthly build contest and to pay it forward a bit, I'm offering the following:

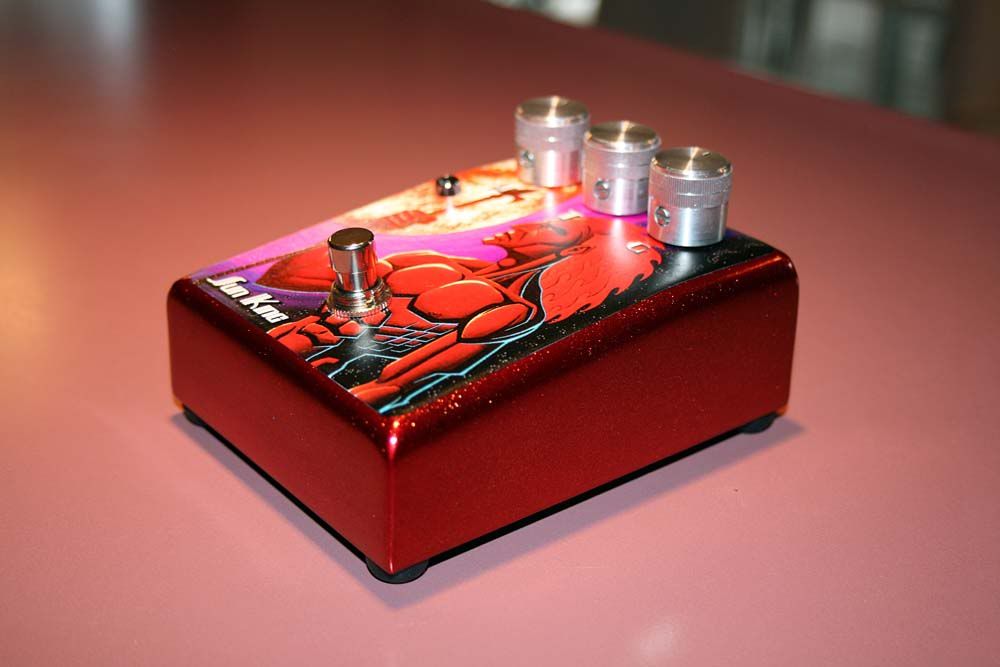
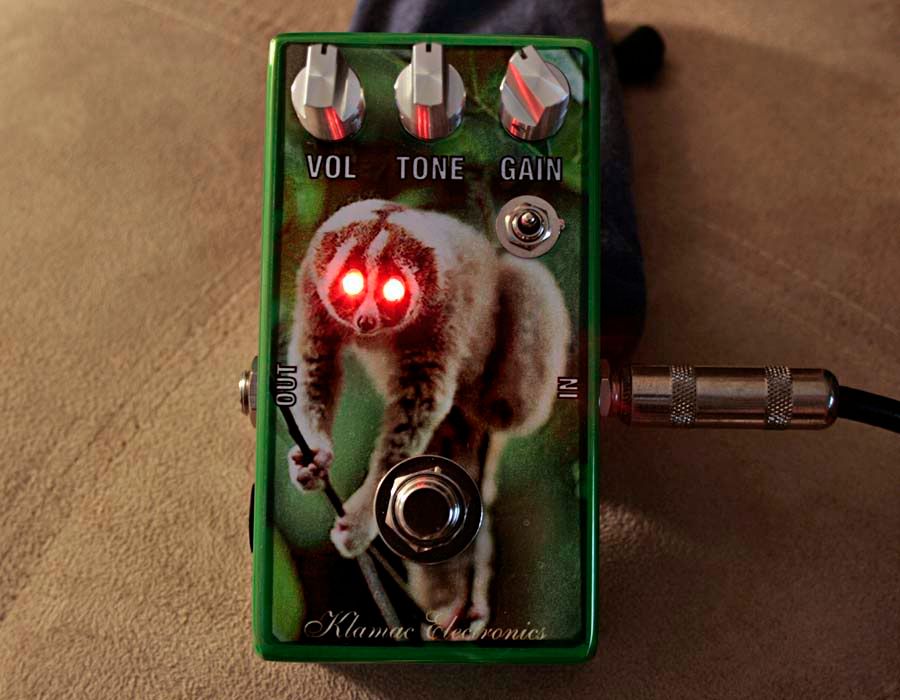
One (1) brand new undrilled 125B pedal enclosure powdercoated in the color of your choice.  And I mean THE COLOR OF YOUR CHOICE . . . provided I have it in stock, lol.  But never fear, my garage shelves and cabinets are bulging with various color powders . . . candies, dormants, solids, pearls, veins, textures, you name it -- there are probably 100 different powders out there so I can likely get pretty close to your dream color.

What do you have to do to nab the 125B?  Why, just be the first to post the correct answers to this simple two part trivia question . . . going back to my early childhood with this one:

A.  What was the name of the pop/rock band that landed on Gilligan's Island?
B.  What were the names of the individual band members?

You have to correctly answer BOTH parts to win the box.  All are welcome to enter --- mods, MB himself, any forum member.

Now the bad part . . . I'm willing to ship the pedal anywhere in the CONUS no problem . . . but international shipping is a real buzzkill.  I just visited the USPS website and went YIKES when I priced out Priority Mail shipments outside the USA.  So if you're outside the US and would like a box coated in your color of choice then we may have to split the shipping or come to some agreement on that one.  Hope that sounds fair?  I'm an internationally known cheapskate.

Alright, let's have at it -- good luck!

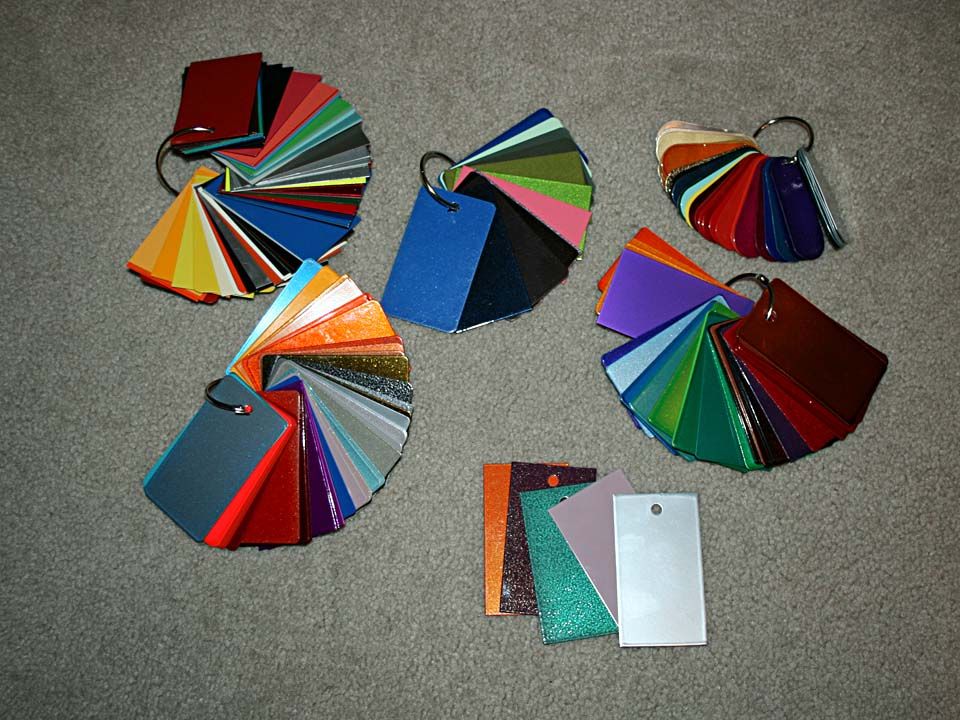
Now, when I say I have a lot of colors . . . I mean I have a LOT of colors.  These are just some of them:


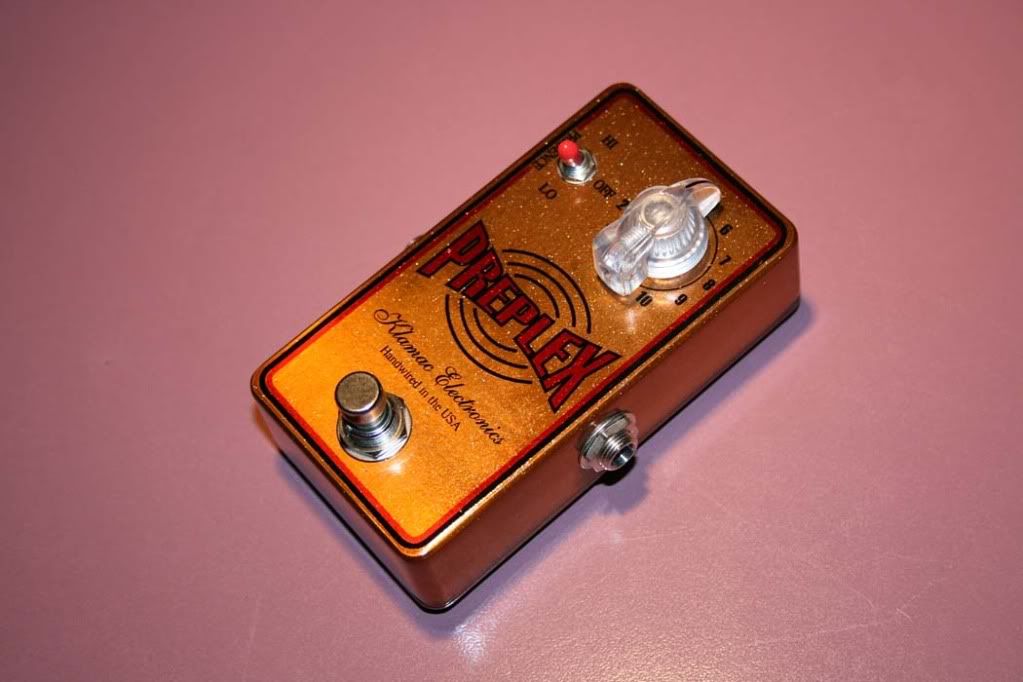
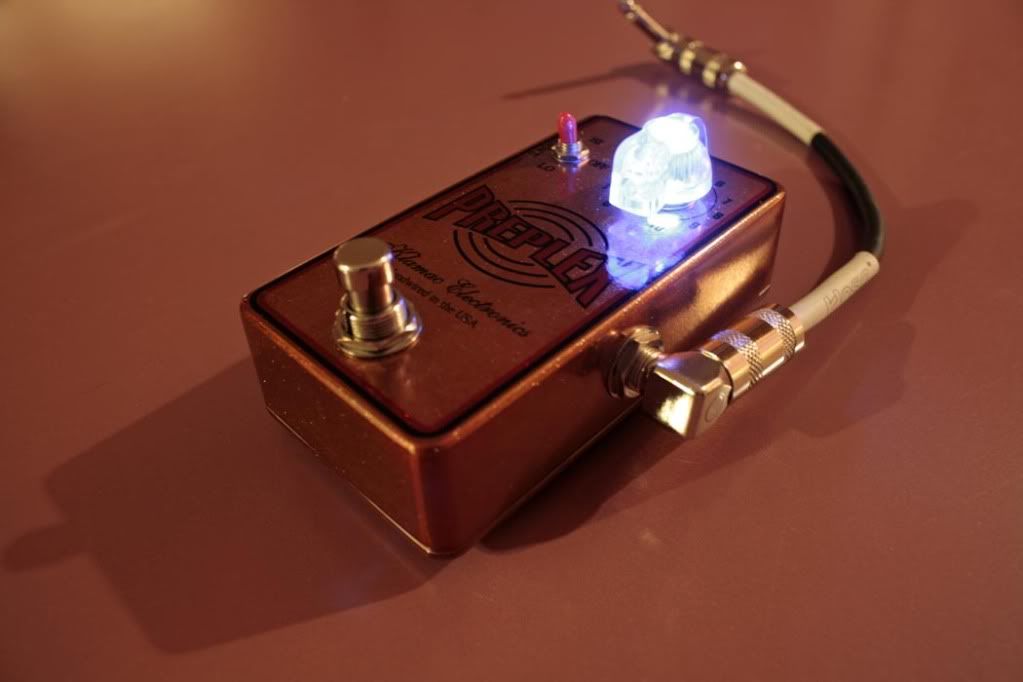
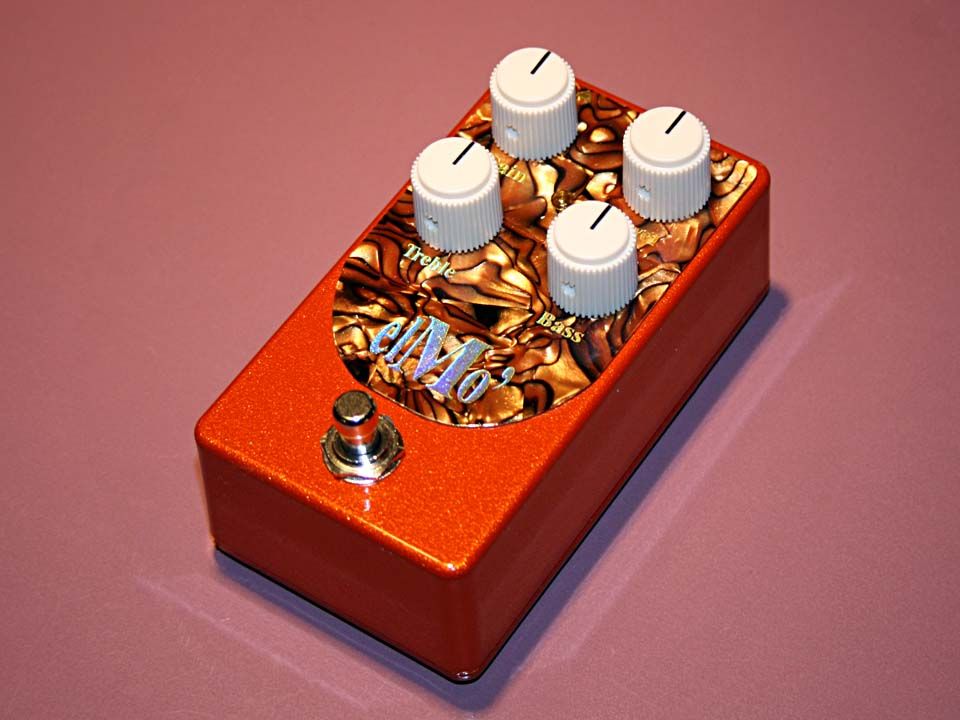
My favorite color this week?  Orange Moon Metallic with glass clear top coat.  I may even be talked into cutting the winner a celluloid top cover if desired . . . . here's a 125B in the OMM with a tiger celluloid cover on one of my El Mo' pedals:

#2
Build Reports / Vibe-Mania! (Incl. Warhead) >>
September 23, 2012, 12:08:33 AM
I've been on a vibe-a-thon lately . . . just can't get enough of that throb, I suppose.  First up was another Neovibe build, named after the color of powder coat I used.  Enclosure is a Hammond 1550E.  Built from a GGG board -- I put an 18-volt regulator in this one and use a 24VDC wall wart to power it -- running it up to 18 volts gave it some more thump and effect.


Next up I wanted to give the Forum-Vibe a try so I ordered a PCB from Classic Amplification.  This one reminds me of the color scheme of my buddy's '87 Mustang GT.  This was my first attempt at a two-tone powder coat (actually three-tone counting the stripe).  Top is dormant burgundy, bottom is black chrome then I added the tomato red stripe and shot clear over the whole thing.  This one took a full afternoon to powder coat but I'm really pleased with the results . . . you can barely even feel the stripe under the clear.  Enclosure is a Bud Industries CU-234:


Last but not least is my latest, the Madbean Warhead.  Got the board from Haberdasher and decided to go with the military theme . . . that's flat army green powder.  Enclosure is a Hammond 1590J:

[imghttp://i217.photobucket.com/albums/cc18/Fastocker/Vibe%20Pedals/Warhead-001_zps99607b8a.jpg]http://[/img]


All of them sound really good -- right now the Forum-Vibe wins by a hair but with some tuning on the trimmers you can make them all sound virtually identical.

#3
For any of you with the Pulsar DecalPro graphics system -- I had my second attempt at using the kit and it was a complete failure as the graphic just wouldn't bond to the clear carrier.  Completely frustrated, I finally called Frank, the owner of Pulsar and he had some great tips that helped me get everything straightened out. 

First and foremost, if you're using the GBC H-220 laminator you have to do the gear swap mod -- that involves swapping the motor and roller gears inside the unit.  This makes the roller turn much slower which lets the graphic heat up more.  This mod made all the difference in the world.  Frank also told me to pay attention to the curl of the paper and to feed the graphic into the laminator (and the water) with the curl, not against it.

Frank at Pulsar understood my frustration and even sent me some more foils and supplies at no charge -- great guy and great customer service.  Really digging the DecalPro stuff now that I'm getting comfortable with using it -- might try some multicolored stuff in the near future.

As most know, it's not easy to get white graphics on a dark background.  I was finishing up my Neovibe build (sorry, not a Madbean project here) and decided to do the graphics in white lettering on a purple case.  Not an original design by any means, just a tongue-in-cheek homage to a unobtanium boutique vibe pedal (I actually own one and it sounds great!).

Anyway, here's my Neovibe build, the GigaVibe.  Sounds great, right in the ball park with my MegaVibe.  Graphics turned out pretty nice with just a few tiny flaws that aren't really noticable.


#4
Open Discussion / Pulsar Pro --- Decal Pro FX issues >
January 01, 2012, 03:21:12 AM
Hey guys, tonight I made my first attempt at using my Decal Pro FX graphics package . . . . FAIL.  For those of you that have used the system, everything seems to be working fine up until I get to Step #6 of the instructions, Bonding the Carrier.  I lay the graphic onto the carrier board then cover it with a sheet of the clear carrier mylar --- I then pass this through the laminator (GBC H-220), remove it (it's HOT!) from the carrier board . . . . but the mylar is just not bonding to the graphic.  I tried putting into the water and the mylar immediately lifts from the graphic . . . of course the graphic then disintegrates quickly in the water.

Any ideas of why I can't seem to get the clear mylar to bond to the graphic?  I'm using white foil for my first try if that makes any difference.  Getting frustrated at this point and might just start looking for an Alps printer instead . . . .


Jim
#5
Requests / Morning Dew EQ (or similar)
March 07, 2011, 05:52:39 AM
I have one of these now-unavailable pedals and it's awesome!  A very powerful three band EQ with a switchable buffer . . . the middle control is especially outstanding and can take you from deeply scooped mids to a loud upper midrange 'honk'.  Anyone know of a schematic for this pedal?  I'm not really talented enough (yet) to trace the circuit but I can take as many pics as someone might need.  I'd love to be able to build one of these and wouldn't feel too bad since they're no longer being made.

Anyone?
#6
Build Reports / Behold . . . the true SUN KING!
February 15, 2011, 05:08:13 AM
Well, not the pedal . . . but I think this guy is definitely THE Sun King, LOL.  Guy looks damn serious about his tone . . .

Actually this isn't a full pedal build of mine --- I just finished the enclosure and did the graphic for a buddy building his own Sun King.  Ruby red metalflake powdercoat came out nice; he ended up using different knobs as neither of us liked the ones pictured.

My buddy's wife said the stomp switch should have been mounted a 'little lower' . . . would have made the pedal more interesting to the ladies, hehehe.


#7
Hey all, I built this switching box for my Echoplex EP-3 and it works fine --- left and center switch operate the Echo ON/OFF and PLAYBACK functions of the EP-3 while the right switch is simply a Send/Return loop so I can switch the Echoplex out of the signal path if desired.


I used a wiring diagram from the Beavis site for the loop portion but now I'd like to add a blend pot to the loop to blend the echo (wet) signal to the clean (dry) signal.  I'm thinking turn the pot all the way to the left for dry signal, all the way to the right for wet signal and, when in the center, you'd hear 50% dry and 50% wet.

Does anyone know of a wiring diagram (or Vero layout) for this configuration? 

Thanks!
#8
Hi, I hope this request doesn't violate forum rules since this isn't a Madbean project specifically --- if it does, please just delete.  Anyway, after successfully building several pedals from kits to Madbean projects to many Vero layouts, I decided to try one from scratch, i.e., do my own Vero layout from a schematic.  I chose to do a germanium Fuzz Face with a few 'boutique' mods, basically the Fulltone '69 pedal but without the contour control . . . so a three knob, positive ground germanium fuzz face with the addition of what Fulltone calls the bias knob.

I put the Vero together and hooked it up to my test board but it doesn't work --- bypass signal works and, when I click the footswitch on, nothing changes --- it still sounds like the bypass signal and the volume, fuzz and bias controls don't seem to do anything.

Here are two schematics I kind of followed --- one is the basic Fuzz Face and one is the '69 pedal.


Here's the Vero layout I came up with --- I'm hoping someone can take a look and see if there are any errors in the Vero layout.  I'm going to check my build to make sure everything is as shown on the Vero and will check the wiring as well, but I needed a fresh set of eyes to verify the Vero.  Note that I spaced everything out so that I could lay down the resistors and use axial caps and transistor sockets.

Thanks, all!


#9
Tech Help - Projects Page / Fat Pants Output Impedance >
December 03, 2010, 04:43:11 AM
I recently purchased an Echoplex EP-3 and, while searching the web for some info, I found this post on the MetroAmp forum:

http://forum.metroamp.com/viewtopic.php?f=12&t=29331

In the seventh post down, ClinchFX talks about the EP-Pre and the importance of the output impedance -- read near the bottom of the post . . . can someone help me understand what he says here:

"The output impedance is very important to the phase response of the EP-3 preamp. There's another guy selling PCBs for what he claims is the same thing as an EP-3 preamp, but he just connected a 50K pot to the end of the snippet of schematic that I posted, and that just doesn't cut it."

I haven't done a side by side comparison of the Echoplex with my Fatpants yet as the Maestro needs a tiny bit of servicing first . . .

#10
Build Reports / New (old) Fatpants Build >
November 29, 2010, 03:58:25 AM
Here's one I just finished --- I had populated an older V1 Fatpants board but never housed it so I decided to box it up today.  For this build, I rigged up an SPDT on-off-on switch to swap different values for C3 --- a 22n, a 10n and NO cap (center off position).  In the up position, the switch adds some 'crispy' high end; in the middle (no cap) there is no high end added and, in the down position, the 10n gives a nice 'in between' setting . . . a little presence added without being too harsh.

Finally got the pedal housed today; the finish is burnt orange translucent metal flake powdercoat.  I also used one of the clear shaft pots from Mouser and rigged up a bright blue LED in the shaft . . . and it actually works, lol.  I'll have to try one of the V2 boards next.


#11
Build Reports / Slow Loris
July 30, 2010, 05:18:36 PM
Just finished my Slow Loris build --- sounds great!  125-B enclosure, candy green powdercoat, decal on top.


Even his beady little eyes glow . . . .