News:

Forum may be experiencing issues.

Main Menu
Menu

Show posts

This section allows you to view all posts made by this member. Note that you can only see posts made in areas you currently have access to.

Show posts Menu

Topics - MattOcaster

#1
Hey guys,

I know I haven't posted here in about a year (due to work commitments).

If I have any cred left, please can I ask for help in how to deal with getting ripped off by Mark Shaner.

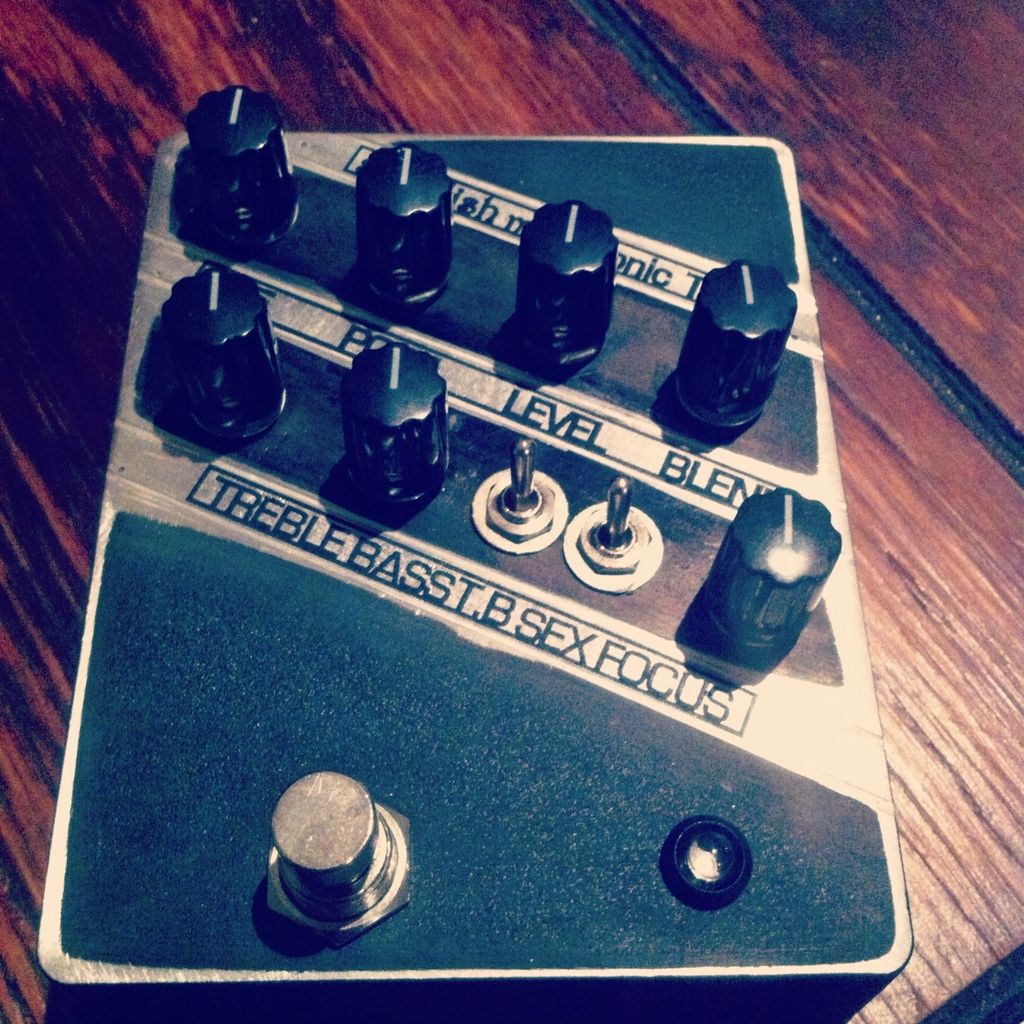
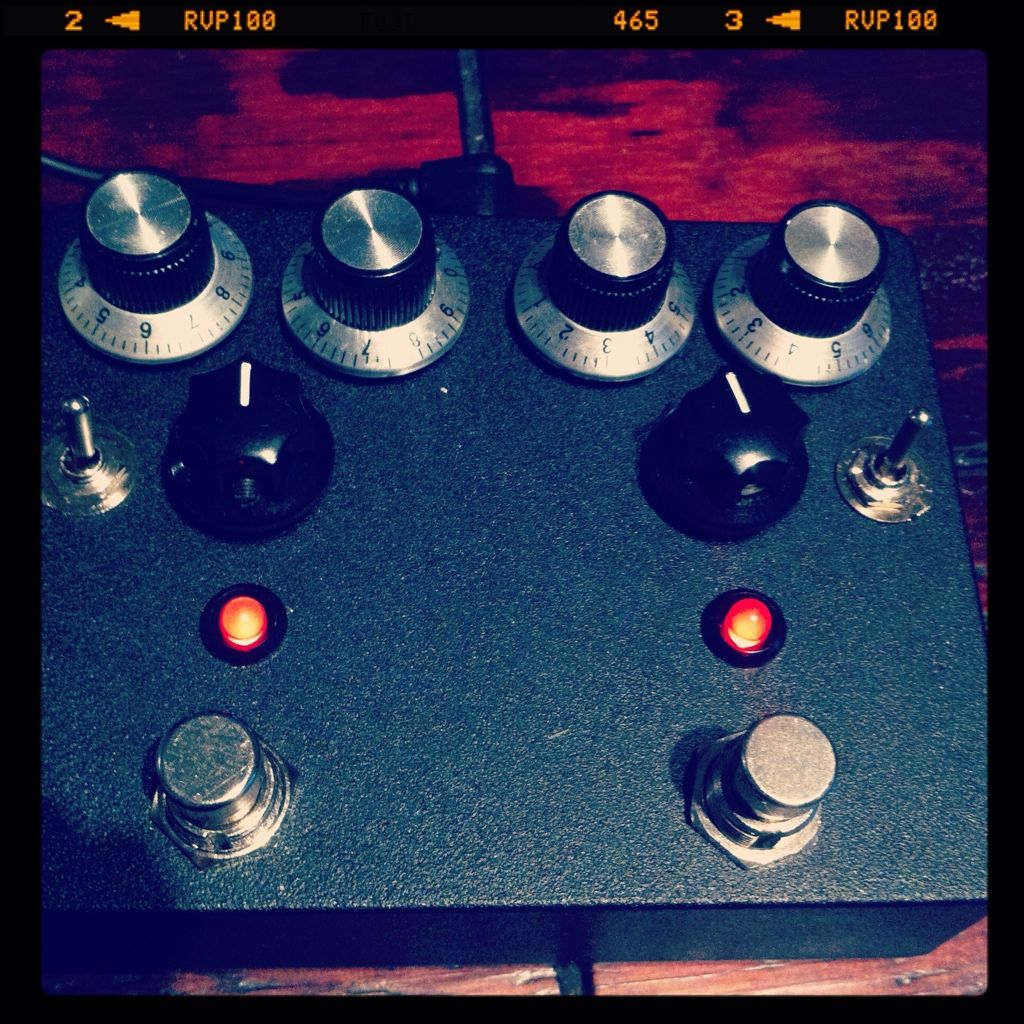
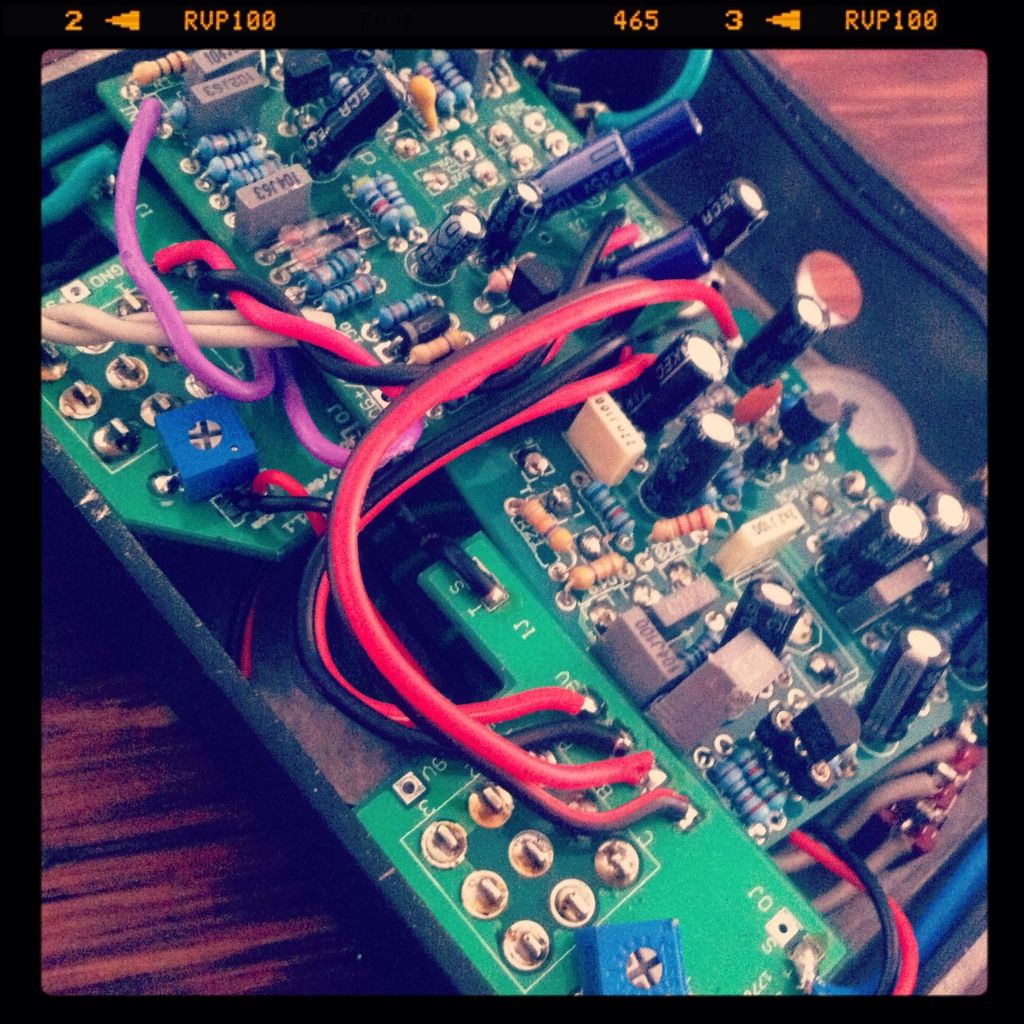
Essentially, this time last year I paid $400 for a Pulsemonger MkII because I had my first job after varsity and I really wanted to give back to boutique builders.
However, after paying the money all I received was excuse after excuse and I am still without a pedal and a seriously bad taste in my mouth.

All I want to do is bad mouth him on every online forum I can - but that's not right.  2 wrongs don't make a right.

How do I come right from this?  How do I get a pedal or my money back? 
I'm struggling for money currently and can't afford to flush $400 down the toilet.

In my 4 years in the pedal building community I've only had positive experiences with genuine people -
but this is just not right and I have no idea what to do.

For those who are interested, here is the email correspondance copied and pasted from my gmail:

- content edited by admin -
#2
Build Reports / Just another tremolo
May 01, 2013, 11:23:02 AM
What up guys,

Here's another one that's been a couple of months in the making.
Worked first time!  8)

Nothing too unique about this tremolo except 1. Tap tempo 2. Gain control when engaged 3. Blend control for clean and trem signal.
To be honest, the blend control isn't as useful as I'd hoped - so will leave it out of subsequent revisions.

On the production side, put quite a lot of work into the PCB design to ensure 1. Everything is board mounted (no wiring) 2. Physical isolation between the micro chip and the audio path (no ticking).   


Matt.
#3
Build Reports / Skeedish Muff V2
March 18, 2013, 01:01:41 PM
What up guys,

No significant changes from the first version.  Just production side changes - redid the board for 2 sided fabrication and consolidated the 2 dual op amps into a quad opamp.


SKDSH MUFF v2 first look   
http://www.youtube.com/watch?v=zdyx49p0jPo

Check the vid - it works

Done with the enclosure
Have a rule that I always to the enclosure before I box it up - otherwise it never gets done.
Do I put too much work into the enclosures?
Perhaps you should ask why other pedal manufactures don't!

Started off like this:


I then thought I might as well try a few new things so I ended up with this:


Nice and Shiny:


Still need to apply the decal.....
Lol taking my time with this one :)

Should be done tomorrow!

Matt.
#4
Build Reports / More fun on the artsy side
March 18, 2013, 12:53:06 PM
What up guys,

A long day at work sparked some creative juices this evening :)
Here are the results of some stress relief...

Attacked this with a belt sander:


Used a lot of water:


Inspired by Jackson Pollock:


Nice and shiny:


Regards,
Matt.
#5
What up guys,

Wanted to recreate that vintage Germanium goodness.
Pure unadulterated mojo! :D

Germanium does 2 things well:
Fuzz - softer than Silicon = Fuzz Face
Boost - for that vintage twang = Rangemaster.

Only added:
1. Bipolar charge pump for PNP Germs.
2. Range knob for input cap of the Rangemaster.

I used a Lin pot for the "Range" which was fine, but a reverse log may work better.
I suppose it depends on your capacitor choice as well.
I think I used a 10nF, 100nF and 100k pot combination.

Also the first time I tried axial caps.
Had no idea about the sizes until I received them so its a snug fit.

Tried to simplify wiring as well.
Ie board mounted pots, clear labels etc

As to using the charge pump, it works as expected.
I was also careful to physically isolate the power section from the audio section on the PCB.

As per RG's idea, I left pads to connect pins 1 and 8 to prevent a high pitch squeal coming through on the Range side.

I used a 7660SCPA, perhaps subbing a MAX1044 might act differently.
Charge pumps can be funny things sometimes.

Still gonna add a graphic overlay but inspiration has not come knocking as of yet.

Got 2 spare PCBs if anyone wants to trade.


Matt
#6
Hey guys,

Been trying to box up ALL the projects I had started. (Still a LOT to go).
Here's the Moosapotamus Dirty Bird:
http://moosapotamus.net/dirtybird.html

Built up two, one for a friend and one for me.  
Tank is my friend's pug - ridiculous creatures! :D


Quick video:

http://www.youtube.com/watch?v=qEfBe1xymKc

At first I was quite apprehensive about building this one - but I was VERY pleasantly surprised at the results.
An amazingly unique pedal - not your usual fuzz/noise box.
Especially with the Dirty Bird mods, the range of sounds is quite impressive.

I liked it so much I made a project for anyone who wants to etch their own.
There's nothing wrong with the Moosapotamus version but their is A LOT of offboard wiring, and it took me a while to understand everything.
At least here, the pots can be board mounted and each switch has assigned wirepads.

It hasn't been tested yet, so another set of eyes on the schematic might be useful.  
And before commenting the layout isn't as beginner friendly or that I forgot the capacitor part numbers - just remember a little common sense goes a long way and it's easy to work out :D


Kind regards,
Matt.


#7
Build Reports / Japanese Beetle (vero macheen)
January 25, 2013, 12:23:48 PM
Hey guys,

Made a promise to box up all of the worthwhile assembled circuits I've had sitting in my drawer for a year. 
Hence the Japanese Beetle! :D Finally borrowed a decent camera as well.


Gutshot:


Making the enclosure: (left it in the sun to get the cracks - worked well!)


Kind regards,
Matt.
#8
What up guys,

Not sure where I should put this, but think of it as a "Build Report for Enclosures". I can assure you the wiring will be FAR less interesting ;)

Just to say thanks to Jon/MidwayFair for inspiring me to go out and buy some paints and get a bit crazy.

With these pedals, I tried to do things I hadn't done before – ie multiple colors, using black enclosures, leaving some edges bare.

Definitely got me out of my comfort zone. Was very tempting to go back to a white enclosure with the usual dabs of pink/blue/purple.

My Special Super Secret Technique

The truth is there is none! Man I hate it when people say that ;) But it's true.

Look at the picture, does that look like there's a perfect technique every time? It's all trial and error, get out paint brush and just start playing around. You'll be amazed at how simple materials can produced great results. That's not to say there isn't a learning curve. But that's the great thing about water based paints – rub it off with a sponge and water and start again!


So what is the basic technique?


Here are my personal preferences. No special equipment needed.

1. Primer

For paint to stick to the unprinted aluminium it needs a few base coats of primer. I find if you use enough coats of white primer, that's the white base coat sorted. Just take care to take it slow and let it dry on a perfectly horizontal surface.

2. Add some colour


This is where I add some colour with acrylics. I started off with only 2 colors – blue and pink.But the sky is the limit for your choice but here are my personal guidelines I usually stick to:

A): Use colour to support the decal, not the other way around.
I always design the decal first and paint second. That way you know for example, what areas to keep white for text, which areas will be covered by knobs.

B:) Keep it simple!
1 or 2 colors max. Plan the colors to ensure they work together. Ie careful with conflicting colours eg: orange and green.

C:) Patterns and textures
Using a paint brush to dab at the page in different ways produces a vast variety of interesting effects. I've got 1 paint brush to my name and have managed a variety of effects.

Here's the first pedal I did properly – all I had was pink and blue paint to play with. My *usual* pink/purple/purple look.


3. Illustration and Waterslide Decal

I do all my designs in Adobe Illustrator.  It's got a learning curve but at least now, if I've got a basic design on paper, it takes me about an hour to create a decal - rather than the day or two it initially took me.

If possible, try not to slap a picture off Google on the pedal.  I just doodle on a piece of paper until something useable comes up.  But obviously one doesn't always have the time or enthusiasm, so then ya do a Google slap - it's better than nothing! :)

Where to find Waterslide decal paper? I order mine off eBay, it's not a common item. Search "waterslide clear laser paper".

4. The Sealer/Clear Lacquer

A crucial part that you can't rush. I apply about 4 coats of the thicker "paint on" sealer over a 24 hour period and it'll take another day to dry. Yep, waiting isn't fun but it's worth the effort in my opinion.

Note: to get an even coat it's vital to apply it in thin coats and not leave any blobs anywhere.  The blobs take forever to dry and leave a VERY uneven surface.

So which specific one's do I buy?

Answer: whatever the hardware or art store has on hand.  I've tried about4 different kinds of primers and 3 kinds of sealer and they all give practically identical results.

However, make sure you chat to someone at the store who at least knows their rights from their lefts.  It's ridiculous how useless the guys working in the paint isle, can be.

Onto the results:

Quality of the photos isn't great, but it's the best an iPhone can do!


First up, another OCD overdrive:
Tried some shades of green with a dash of yellow and white.


Here's the first one I did for interest:


Scuba Muff


Centaur Overdrive:


I tried for over an hour to get this thing right. I painted over about 5 attempts. Eventually after much frustration I gave up and began to rub it off with a sponge – exposing the layers underneath and producing the most glorious effect. Very happy accident!!


Skeedish Muff

Following the success with the Centaur, I tried to repeat the process with the Skeedish Muff – also came out well. :)


Well that's it, proof that with a couple of simple hardware items, anyone can create something that looks half decent :)

Matt.
#9
Howzit guys,

Below is the "Imprudence Engine" - (Yep I'm getting better at hipster names!)

It's the same Sample Rate Reducer pedal I did a while ago with 2 changes:

1) New graphics :D
2) 2 DC jacks

I had intended to add a small vero board bipolar PSU to convert a 12V AC input into the 2 required 9V connections.
However, after some consideration, it wasn't worth the effort and I'll always have 2 isolated power output anyway.

Check out the video: :D

http://www.youtube.com/watch?v=g5dzhV7bnkE


Also for those who want to build one, here's a verified layout I made:


http://sonictitanfx.com/2012/11/22/bugcrusher-etch-bugbrand-sample-rate-reducer/

The link is to a layout to etch, I did this one on perf but the etch layout is all verified :)

Also watch out - the AD781 chip required is R200 a pop!

Kind regards,
Matt.


#10
What up guys,

Finally finished with this monster! Came together surprisingly without any major problems. :)

Had the Neptune and STM boards assembled for ages but wanted to make full use of the Neptunes ldr - can be activated with the STM lfo or the envelope circuit.  

Just need to sort out the Envelope section and decide what to do with the space for the 2 additional knobs.
Still playing with the Envelope section on breadboard. I had originally intended to make the extra 2 knobs a low and high pass filter for the delay signal.

I also need to add a buffer for the effects loop - its not playing too nicely with some effects.


Kind regards,
Matt.
#11
Build Reports / 3 year long build: Something Amazing :]
January 07, 2013, 05:59:33 AM
What up guys,

I've built... the perfect girlfriend! :]


Just for the lols.
Matt.
#12
Build Reports / Boneyard & [Zombii + vero Mammoth]
January 06, 2013, 05:05:57 PM
What up guys,

Built these ages ago, but just recently gave them graphics worthwhile of a Build Report.

Neatened up the wiring on the Fuzz as best I could, but a when I built it a year ago, my skills were not "refined" ie ratsnest wiring.

Foundry = synonym for Factory.
Phosphatherium = a prehistoric elephant creature thingy.


Matt.

Oh will upload a gutshot for the Boneyard later!
#13
Build Reports / (non-madbean): Skeedish Muff
December 08, 2012, 02:42:10 PM
Howzit guys,

Not gonna have a chance to wire this one up for a couple of days so thought I'd post it.
Really proud of this one :D

It's a Big Muff with:
Pre-boost (LPB1)
Baxandall Tone stack (ditched the recovery gainstage on the muff)
Tone Bypass
Diode Switch for 2nd gainstage
Focus: input capacitor blend

Blend control: all credit to Mr JMK for this bit!!!
It's a nifty little op amp circuit and used it before.
Big thanks for sharing it!!!

Made to be VERY Bass friendly.
My Bass player buddy with be stoked with this one.

Also, decided to shake things up and do the knobs at an incline. Because? Why not :)


Here's the original graphic, but my execution didn't turn out well.
So... To the sandpaper!!


Here's the schematic - no values because still haven't finalized the values.
Especially on bass, need to work things out properly.
ie if a bass version is too muddly on guitar or if a guitar version lacks low end for bass.
I did add power supply filtering, not shown though.

#14
Hey guys,


Initially the idea was a Zvex-type Lofi simulator - consisting of a Compressor, Vibrato/Chorus, and Sample Rate Reducer.

It has since morphed into a "Nonsense Engine" - I replaced the Orangesqueezer/cupcake compressor with a Colorsound Fixed Wah Filter.
The vibrato/pitch section is a modified Pitch Pirate circuit.

So... didn't quite create an Instant Lofi pedal, but it's still fun :)

Check out the video:

http://www.youtube.com/watch?v=7yl2uG9MI7o

The Filter and Sample Rate reducer sections are still noisy, but haven't had time to rectify it.
When I tested the circuits individually, they were quiet, so it's likely just moving some wires around.

This might be due to the fact that it should have been run off 12V ac adapter, but my 12V ac adapter actually produced 15V ac. So definitely made the voltage regulators crazy hot!

More info about the development is on my blog:
sonictitanfx.wordpress.com

Regards,
Matt.
#15
Build Reports / Pimped Prototyping Board
November 27, 2012, 03:17:57 PM
Hey guys,


Not quite a pedal, but this is what I use to prototype circuits.
Massive time saver.
I liberated the enclosure from the university junk pile.
It was used as a prototyping board but didn't suit my purpose, so drilled a few more holes.

Here's what it looked like before I applied the massive sticker to the front - best stuff ever.

#16
What up guys,

Thought I'd do an interpretation on ZVex's pedal - Instant Lofi Junky
The Zvex pedal consists of 1. Compressor 2. Vibrato 3. "lofiness"

Here's the layout for the final pedal:


In the mean time, here's the Sample Rate reducer with a Blend control:


Check out the video:
http://youtu.be/-A-GNvYRP9U

It works great!  :D
But I still haven't solved the power supply issue - it currently needs 2 separate 9v adapters.
(Thats why there's an extra cable sticking out!)

I tried powering it from a MAX1044 charge pump but it started "crackling".
Just check the video: (Cupcake on the left)
http://youtu.be/xGE7eUS2wXI

I'll add one of these when time permits:
http://www.generalguitargadgets.com/projects/24-power-supplies/137-bipolar-power-supply
Unless any suggestions to get a MAX1044 to stop crackling?

The sample rate reduction circuit is the "Bugcrusher". There is a perfboard layout of it online but I couldn't get it to work so I made my own.

As to the final Instant Lofi, still working on the board layout - but just happy the Sample Rate part is working!

Kind regards,
Matt.
#17
Build Reports / EgoDriver Build Booyahkasha
November 04, 2012, 08:57:11 AM
What up guys,

Decided to build a Fulltone OCD see if it lives up to the hype.
Guess it does, nice pedal!

Really stoked I got the jacks AND DC jack at the back - lifesaver for pedal space - but makes building more complicated.


Kind regards,
Matt.
#18
What up guys,

4ms Atoner pedal from the audio mastermind of Dann Green at 4mspedals.com.
Here's the video:
http://youtu.be/IIwP3_YZEYQ


In short, it's a fuzz pedal (on tic ) with an LFO and Envelope to control the amount of "Atoning".
I still can't figure out how the hell one would use this pedal but at least it's quite a laugh! Smiley

The PCB is well made and all the pots are board-mounted which is nice.
I might add a graphic as well.

By error, I installed a 5V regulator instead of a 9V and surprisingly the results where pretty damn good.
The lower voltage changes the fuzz from splattery to more useable.
Really stoked with this discovery Cheesy
I'll add a voltage control when I'm feeling energetic! (it's not like it has too many knobs or anything!)

Kind regards,
Matt.
#19
What up guys,

My H&K TubeFactor has been my main go to overdrive due to its stunning pure tube tone.
However, it's bulky size and Factor 1/2 with arbitrary volume really bugged me.


So... Extreme Pedal Makeover!! :D


The 1590D was made for this pedal.
Used a 4pdt switch to give it 2 channels.

The drilling plan:


Neatish wiring:


Perfect fit:


Kind regards,
Matt.
#20
Build Reports / Bee Baa and Tone Machine
October 30, 2012, 10:20:28 AM
What up guys,

Roland Bee Baa and Foxx Tone Machine in one enclosure - Vintage fuzzy goodness.
I'm a big fan of using space efficiently but this box is packed tight!


Kind regards,
Matt.