News:

Forum may be experiencing issues.

Main Menu
Menu

Show posts

This section allows you to view all posts made by this member. Note that you can only see posts made in areas you currently have access to.

Show posts Menu

Topics - jimmybjj

#1
Build Reports / Greasy Mullet (Zendrive)
February 27, 2014, 02:44:36 PM
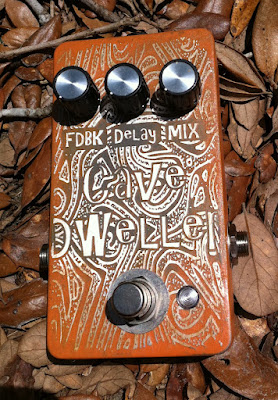
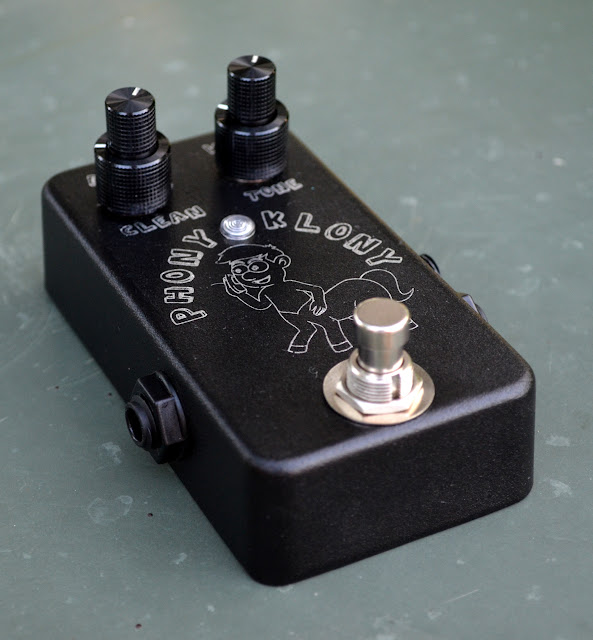
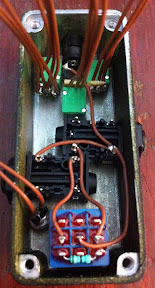
A friend asked me to build a zen for him, this was the result. I left it in my oven for too long, so the embossing effect i was going for was ruined, not happy with finish but he is getting it for free  ;)

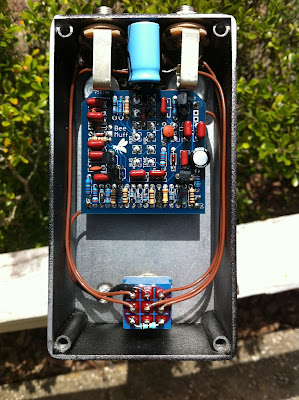
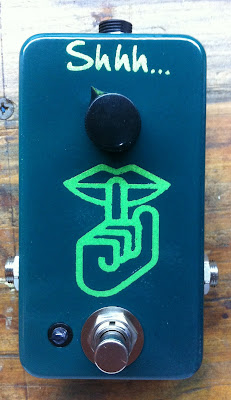
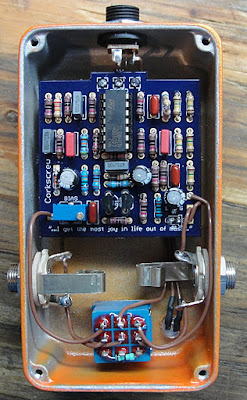
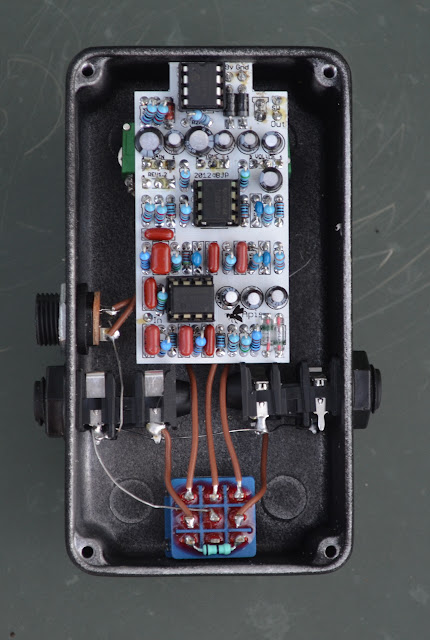
The circuit is a stock zen. The 3pdt pcb is a switchable buffer wired for buffer only. I used a dual opamp with the extra opamp terminated, just because i have lots of extra duals :)


#2
I know your vote will depend on the cost, assume for the sake of the poll the cost will be in your desired price range.

At this stage it is only a idea (one that is in serious consideration) because of start cost involved and the xfactor of how much demand there might be.

If you have any comments please write them below. Tell me if you think it's a good idea or if I'm a complete idiot. How much you would pay for the service. Any thoughts or comments are appreciated.

My intentions would be to offer my own powdercoated enclosure as well as offer the etching service alone.
#3
Open Discussion / NTD New tattoo day
November 26, 2012, 03:12:35 AM
Well i got it over the weekend. Well its only the start of my new tat but its a good start. I needed to cover up my tramp stamp  ::) so i got it covered 

#4
Meet the "Phony Klony"  ;D 
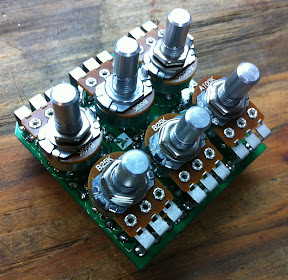
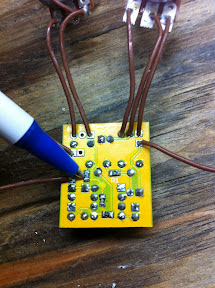
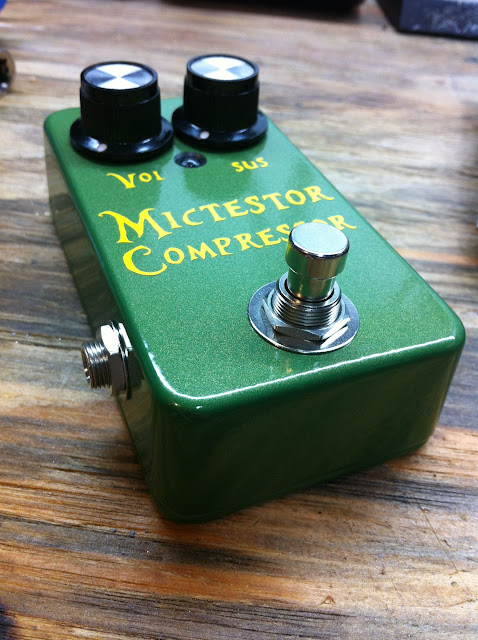
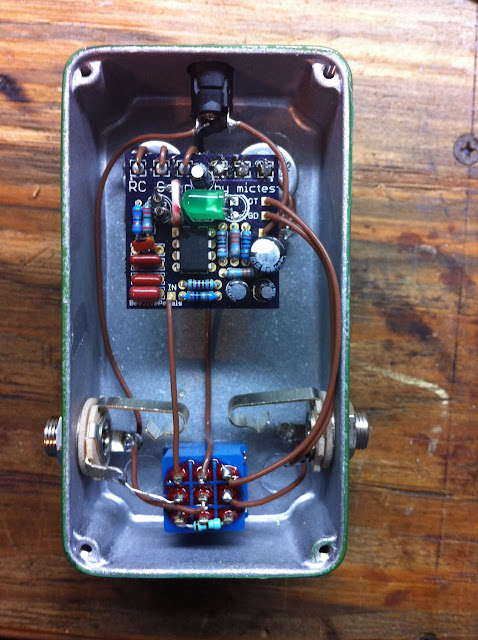
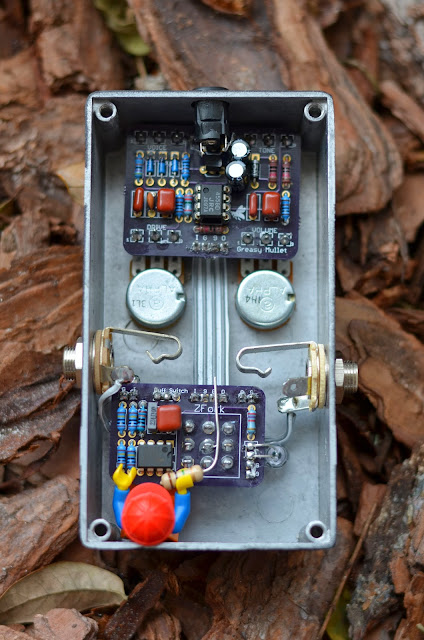
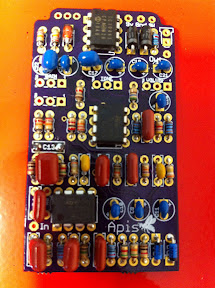
I finally built a pcb from my Apis PCB run

The name and idea is inspired by midwayfair. I was thinking of things that rhymed with Klony like  midwayfair's "Klony" series. Phony rhymes :) like fake, I know corny but I like it.

How does it sound...like a klon :) I used dual concentric knobs for the clean/gain and vol/tone. It worked out really well. I don't think that splitting the gain pot is very useful but i couldn't find a matching knob as a single so they both ended up dual for aesthetics. The finish is powder coat black texture.

#5
I'm not happy with the aesthetics of this one at all, but not enough to redo it :) The enclosure is recycled from one of my very first builds, so the holes are in all of the wrong places (for me) and wires are everywhere. Giant 10mm flashing rate led.

That being said this is a very cool circuit, thanks Culturejam. I'm pretty happy how the layout came out on this one.
#6
I am trying to finish my pdf doc for the apis project and need to make a muilt page doc. I am using CS5 Photoshop and tried using the "bridge" to output but the resolution is horrible. Does anyone know how to resolve this or recommend a program that does this.
#7
Build Reports / Apis. Klon in a 1590a
September 11, 2012, 04:32:21 PM
Got all of the passives except one in the same direction :) I used all ceramics for polarized cap positions, even the two 47uf's. Bat41's for the diodes but got some oa126's on the way. I made the mistake of not measuring the template i had in eagle and paid the price. As you can see in the top of the enclosure the cutouts are not deep enough which pushed the pcb down, luckily i was able to still make it fit  ::) Eagle files updated, that won't happen again. I've never used these type of jacks before didn't realize they were switching until it was wired up, next time i will have the i/o's switched to ground.

As usual crappy pic's don't do the pedals finish justice. Finished in DC texture powder coat. Embossed graphics. Aluminum knobs from smallbear. Background is actual beeswax that i use in my beekeeping adventures :)

This particular build sounds really midrangey for some reason. Maybe the carbon comp resistor tolerances?


#8
At work and bored hence the napkin drawing :) thinking about different switching schemes without actual hardware in front of me makes my head hurt :)

What I wanted to accomplish is to have a switchable true bypass and buffered output. When in true bypass a 1m pull down resistor would be thrown in the mix and pullout when the buffer is on. Also the clipping diodes would be grounded like in the regular Klon.

#9
I don't sell many pedals, so basically all of the pedals i have done build reports have gone missing :( (except for 5 that i had in a different box) I am completely moved in and all boxes unpack but no pedals.

In the unlikely even you guess see any of these pedals floating around and recognize them as mine, please let me know. Mictester compressor, deep blue delay (cave dweller), isp decimator (shhhh...), ross compressor blend (tone dress), fuzz with bias led (honey fuzz), wiener wah, grapevine, rat (narq), hotcake, mn3005 dirtbag, ocd (STD), tonebender III, rust driver.
#10
I like this pedal alot! Not sure what the original uses for a drive circuit, but madbeans version uses a tubescreamer type circuit. I know its just another tubescreamer type circuit, but damn this thing sounds great. I don't currently have my "pedal" amp available so i have to test through my fender champ that sounds like crap with every dirt pedal i've ever tried, EXCEPT this one. I used leds for the clipping diodes and a TLE2072 for the IC. I like this pedal alot. I originally really wanted to build this pedal but when i saw 6 pots and all the wire associated with it i was less excited, so i made my own layout with board mounted pots :)

Every time i photograph one of these type pedals it further solidifies my belief that i will never be a photographer. The sparkles on this pedal is amazing but the pics just don't show it. The finish is my own mix of powders. There is a chameleon effect in person, from one angle there is a redish brown and it shifts to a green as your eye changes angles relative to the pedal.


The video is not a demo. It is simple just to show the sparkles in the powder coating, and the Iphone camera didn't pick them up like it does in person


#11
Build Reports / Black on Black Muff.
July 22, 2012, 03:35:40 PM
My first muff type pedal. Don't really know what is sounds like yet. Moving and don't have access to my main amp, only the crap champ. This one was build to violet specs.

I'm pretty happy how the finish came out on this one, it took alot of experimenting to get this one right. If the pics don't show it the fonting is raised. I wanted to find some silver knobs for this one but could find any local that were small enough. Layout is my own. Extra jumbo filter cap, just because I thought it looked neat :)

#12
...See, under a dollar :) It was a TIGHT squeeze but its all there including the charge pump. All of the resistors are SMD on the back of the board, pointed out by the pen. Their is gold fleck in the green that matches the brass knobs. The knobs are spent brass from 40cal rounds. I didn't have any knobs laying around that worked with the pedal and the brass was on the bench, so i had a aha moment. Fuzz = cops, cops shoot bullets, maybe its a stretch :) Finish is dual stage powdercoating including the lettering.

I have a couple of extra boards is anyone is interested in trying smd. $6 shipped


#13
Build Reports / The Cave Dweller that isn't.
July 06, 2012, 01:25:39 PM
Haven't posted a build in a while so i thought i would share my first full face etch. It isn't perfect but i think it came out ok. I originally wanted to paint the inset black but only had orange on hand. The orange didn't end up contrasting with the silver very much and was hard to read, so i took some acetone to it  ;D and tried for a burst effect. The photos came out a little wonky because these dang mosquitoes were chasing me around the yard.

The circuit is actually a Sea Urchin using my own layout. The background on the pedal looked more CAVEy :) than it did a sea urchin. Not really satisfied with the wiring but it'll work.

I had a rough time getting this one to work properly and still don't know why, but its working great now. The pt2399 was getting hot and no delay was present, I think this is others refer to as locking up. The pedal would not be working then after probing the circuit would suddenly work. Pins 3 and 4 are not connect on most layouts as they are connected via a 10 ohm resistor internally. I decided on a whim to solder pins 3 and 4 together. It doesn't make sense that this would work but it did, or at least i mistaking did something else simultaneously while doing this to correct the problem. In any case it works now. If anyone has some insite as to what happened or might have happened I would gladly like to hear your experiences.


#14
The finish isn't the best i've ever done, but this one is a keeper anyway :) Base coat is a textured powder so there is a appearance of orange peel, lettering in granny smith green so it sparkles in person. SMD isn't nearly as hard as i thought is was going to be. Pedal does color the sound a little, this isn't noticeable with the original because the signal is buffered in bypass. My build (board by matt at diystompboxes) is true bypass so it is pretty noticeable but i will probably leave it on all the time so it doesn't matter anyway.


#15
     My take on the Ross comp /w blend or as Barber calls it a Parallel compressor. Instead of using a dual ganged pot i used a a pot between two opamp stages for the blending. The first opamp stage does some tone shaping and the second adds some gain, a idea i borrowed from Processaurus at the other forum. I included the "jangle box" mod, but decided to leave it out of the final build everything became ridiculously bright after I already included the cap in parallel to the 10k of the output to increase treble.
    Finish is again my favorite DC tecture powder coating. The lettering was done with vinyl masking, so the lettering is actually the natural coloring of the enclosure. I like it, it looks like i used a silver paint marker with nice handwriting. The layout is my own. Sorry for the crappy pics couldn't find my camera so i used my cell phone camera.
   

#16
I built the board to this one a long time ago but just around to boxing it up. It is a very nice comp with LOTS of squish. There is a hint of grittyness (that i'm not digging) to it when used with my high output humbuckers, i'll be playing around with this one to see if i can dial it out.

Finish is DC Green powder coat. There are hints of yellow and gold in the finish depending on the angle your viewing the pedal. Lettering is done with a vinyl cutter used for cutting signs. The particular vinyl i am using (oracal 651) survives powder coat curing process pretty good. This pedal isn't cleared. I need to change the name :) i misspelled the circuit creators handle, sorry mictester :)


#17
Build Reports / NOT Just another "Fuzz Face"
February 05, 2012, 06:34:16 PM
This is my most resent addition to the ever growing collection. This fuzz includes a bias control that lights the led at -4.5 - -5.0 volts (in the video it looks like it turns on at about -4.6v but it does come on at -4.5.) This was accomplished by use of a lm393. Buy adjusting the two resistors referred to on the video you can adjust the "window" to where you want it. The tone control is lifted from Joe Gagans "Easy face" I also have a trim pot that adjusts the "contour" ala the fulltone fuzz. I used a 2n3906 and 2n404 for transistors. No where as neat of wiring as i normally do because took the board out like 50 times getting things right, i guess thats what they make breadboards for :) Sorry for the rambling and stuttering in the video :) I have a single sided layout (same as the fabbed board)  that i can release if there is interest in another fuzz face layout.


#18
Build Reports / Here's my Beanie Weenie
January 29, 2012, 07:42:26 PM
Came out pretty good. A wah was something that was missing from my arsenal so this project come along at a good time. By far my most expensive diy pedal to date between the wah enclosure, mccon-o-wah pot, pcb, and whipple, but well worth it. Technically incomplete because i am missing the rubber feet that go under the actual rocker, anybody know where i can get some? Used as many of my left over amp parts as possible. Used a couple of axial caps, some carbon comps and all 1/2 watt resistors. Used a bc108 for q1 and bc549c for q2. Not my best powder coating job but still looks descent. My resent favorite powder DC texture (black) and rockstar yellow, there is some gold flake in the yellow that you can't see with the camera. I can't really give you guys a comparison on how it sounds compared to other wahs because haven't had much experience with wah's and its been a long time since i've even played one. I didn't have much luck with the freq trim, was getting that envelop volume swell thing. Just not my thing so i stuck a 15n in there like Jake did, sounds tops.

#19
This is a phase 45 sounds really nice just a hair subtle. It'll due until Brian comes out with his phaser. This is the first time( i think) i have used a full face decal with the powder coating. I didn't wait long enough for the decal to dry and there is a orange peel effect on the surface but it still looks pretty good, just not perfect. Finish is dormant orange so there is load of metallic in the finish.
#20
Build Reports / Grapevine build
January 21, 2012, 07:00:36 PM
This is Madbeans layout of the DLS. The video is not a demo :) its just a short clip showing the pedal so you get a feel for what it actually looks like in person. My camera never see what i do in the pics, video does a little better job. Raspberry dormant with illusion amethyst clear. By far my most girly pedal yet :)