
Hello,
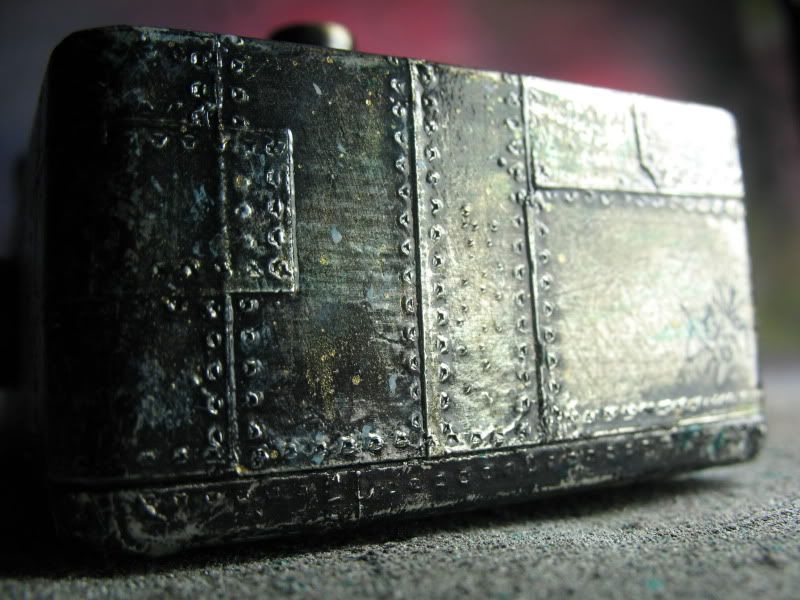
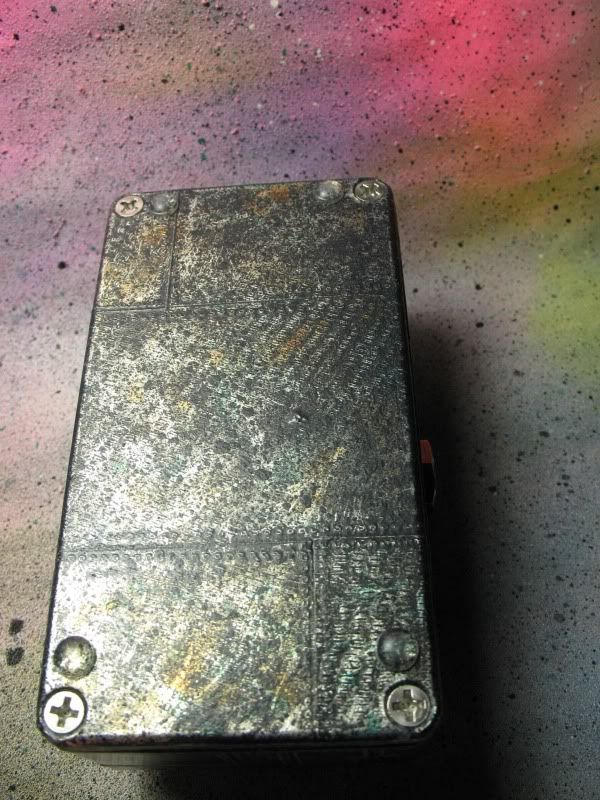
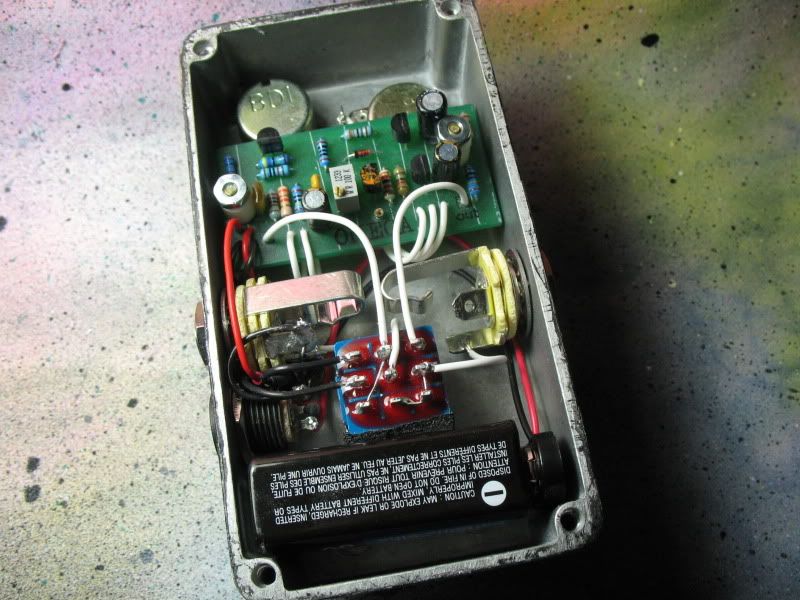
Posted a picture of the PCB for this in another thread the other day but didn't finish wiring it up until today so to complete the circle here goes.
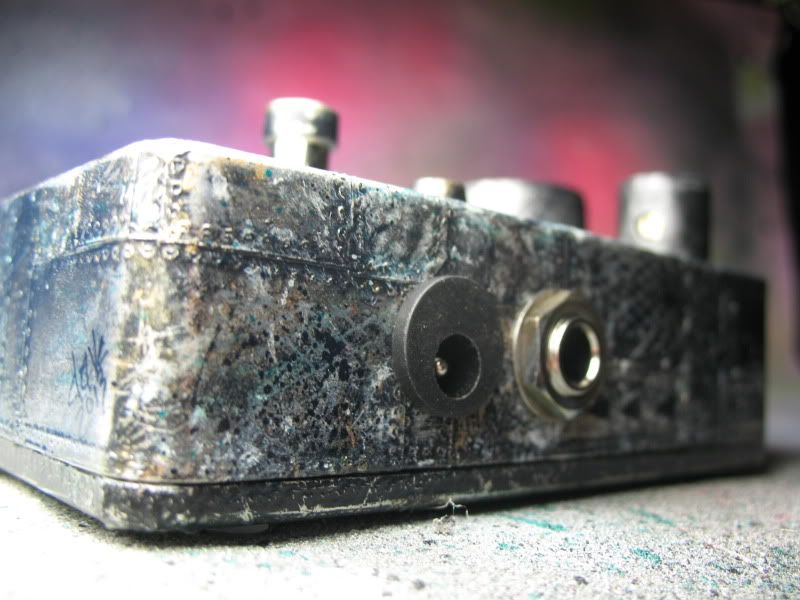
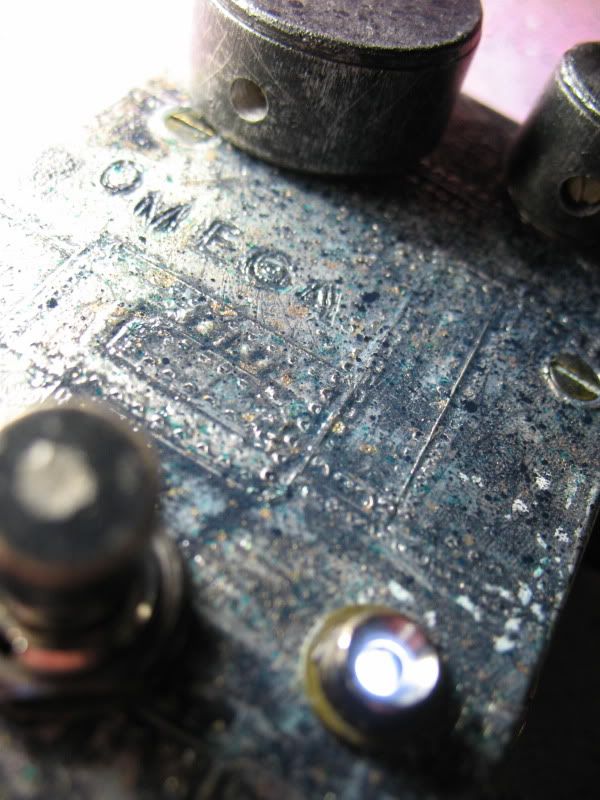
Just a simple ROG Omega with a Geofex polarity protection set up, 3904/3906 transistors and few other bits.


Take care,
dave
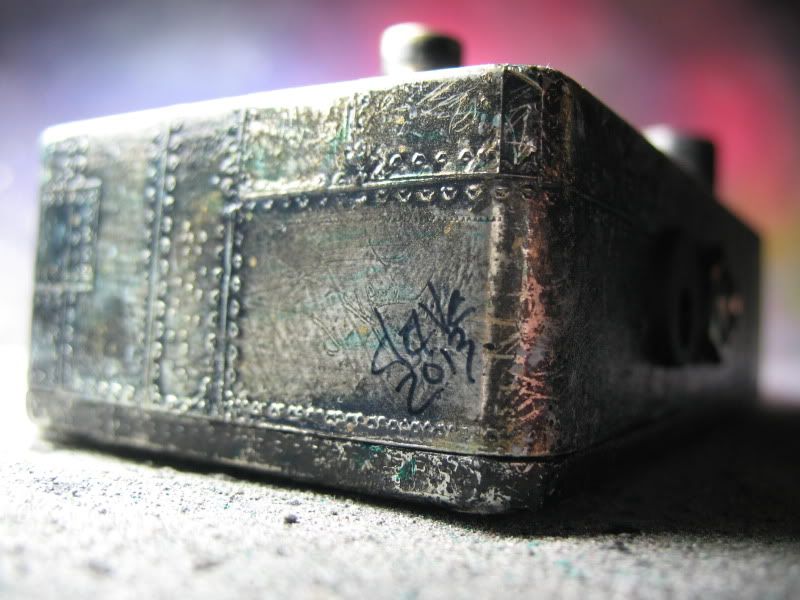
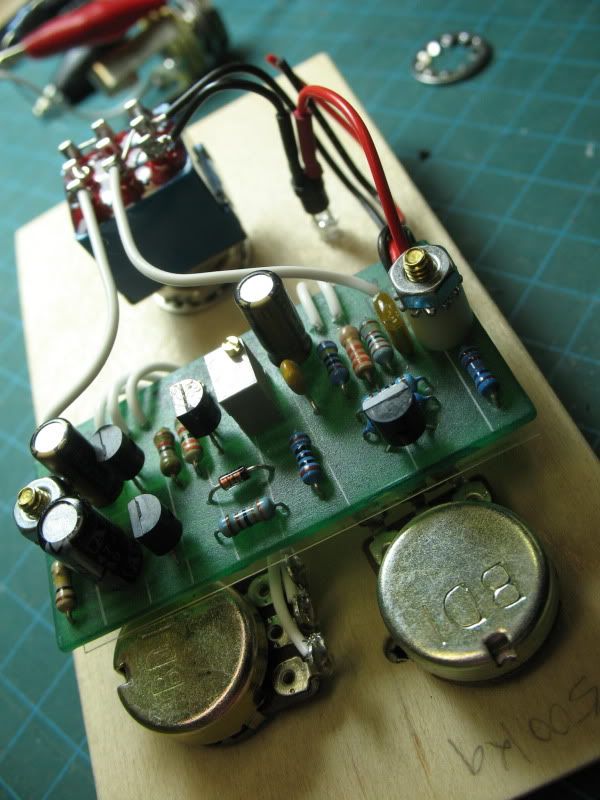
Posted a picture of the PCB for this in another thread the other day but didn't finish wiring it up until today so to complete the circle here goes.
Just a simple ROG Omega with a Geofex polarity protection set up, 3904/3906 transistors and few other bits.
dave


