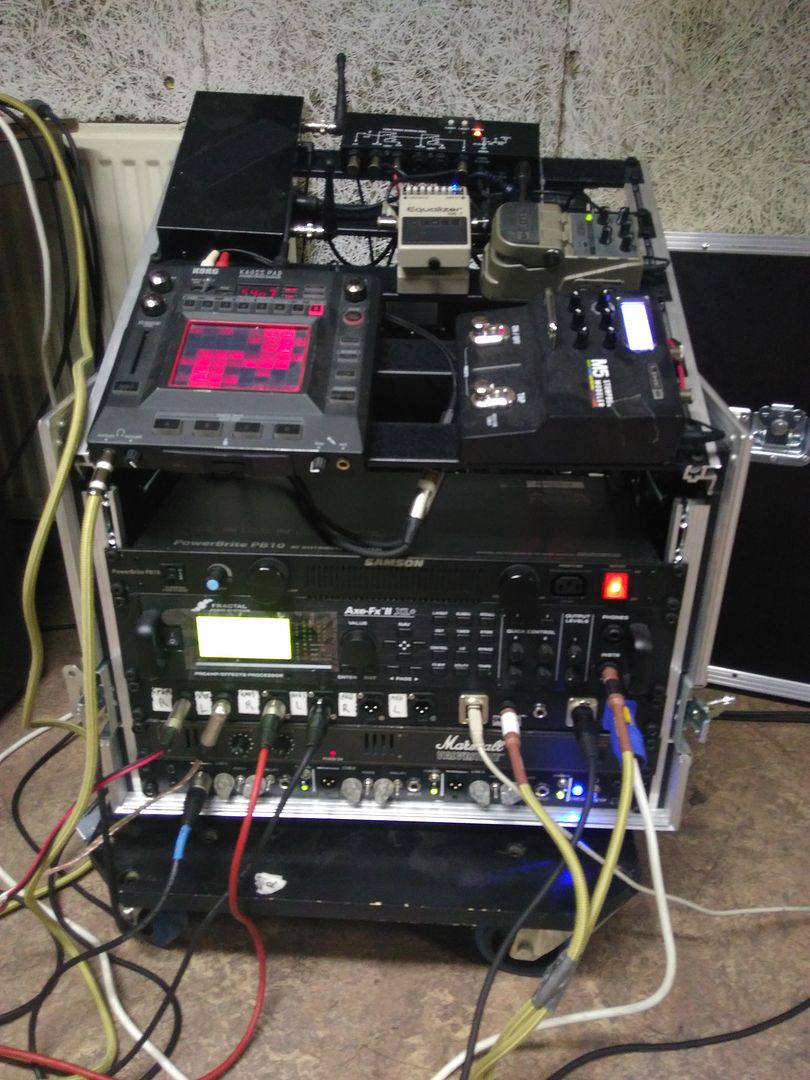
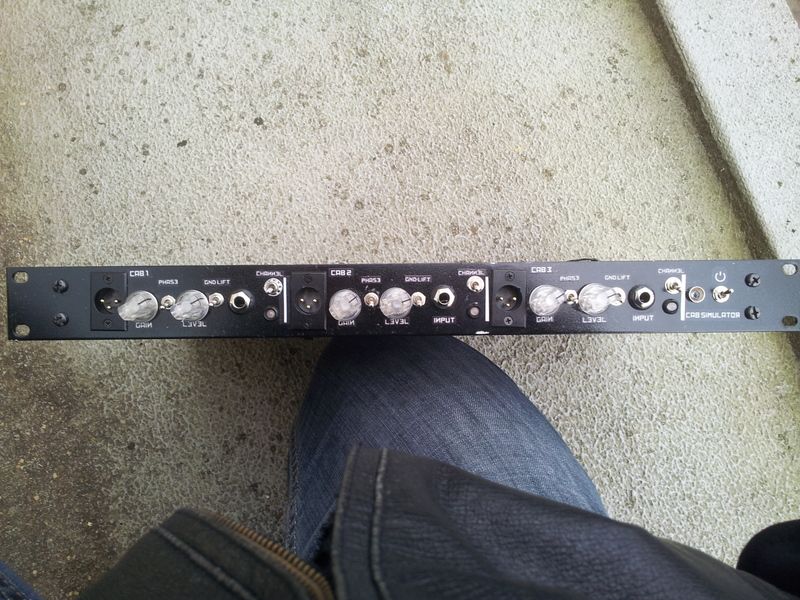
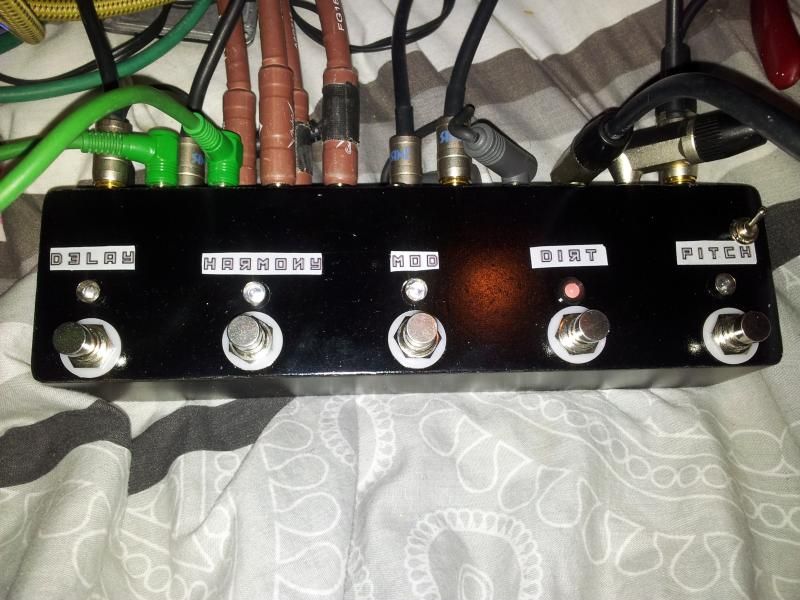
News:

Forum may be experiencing issues.

Main Menu
Menu

Show posts

This section allows you to view all posts made by this member. Note that you can only see posts made in areas you currently have access to.

Show posts Menu

Topics - Muadzin

#1
Open Discussion / NMD
September 16, 2016, 08:27:25 AM
New Mixer Day!


A new mixer for my home stereo setup. For years I had a standard home stereo tower which included tape deck, CD player, tuner and amplifier. But I never used it anymore, as there's nothing on the radio worth listening, CD's are basically ancient technology and the less said about cassette tapes the better. I only listen to MP3's from my PC via some PC speaker. That deserved better in my opinion. Since I had an old 12U 19" rack gathering dust I decided to put it to good use. I kept the amplifier and CD player, for the occasional time I still play a CD. But the beating heart was now an old Phonic mixer that I had for years. I now have the CD player, my PC and provisions for a laptop all running through the mixer. In addition to the stereo amp and speakers I kept the old PC speaker set and added two active monitor speakers in case I want to do some serious mixing of music. Old stereo set is into the CTRL outs, monitor speakers are in the main outs and the old PC speakers are in the headphone outs. When I turn them all three on it's glorious.

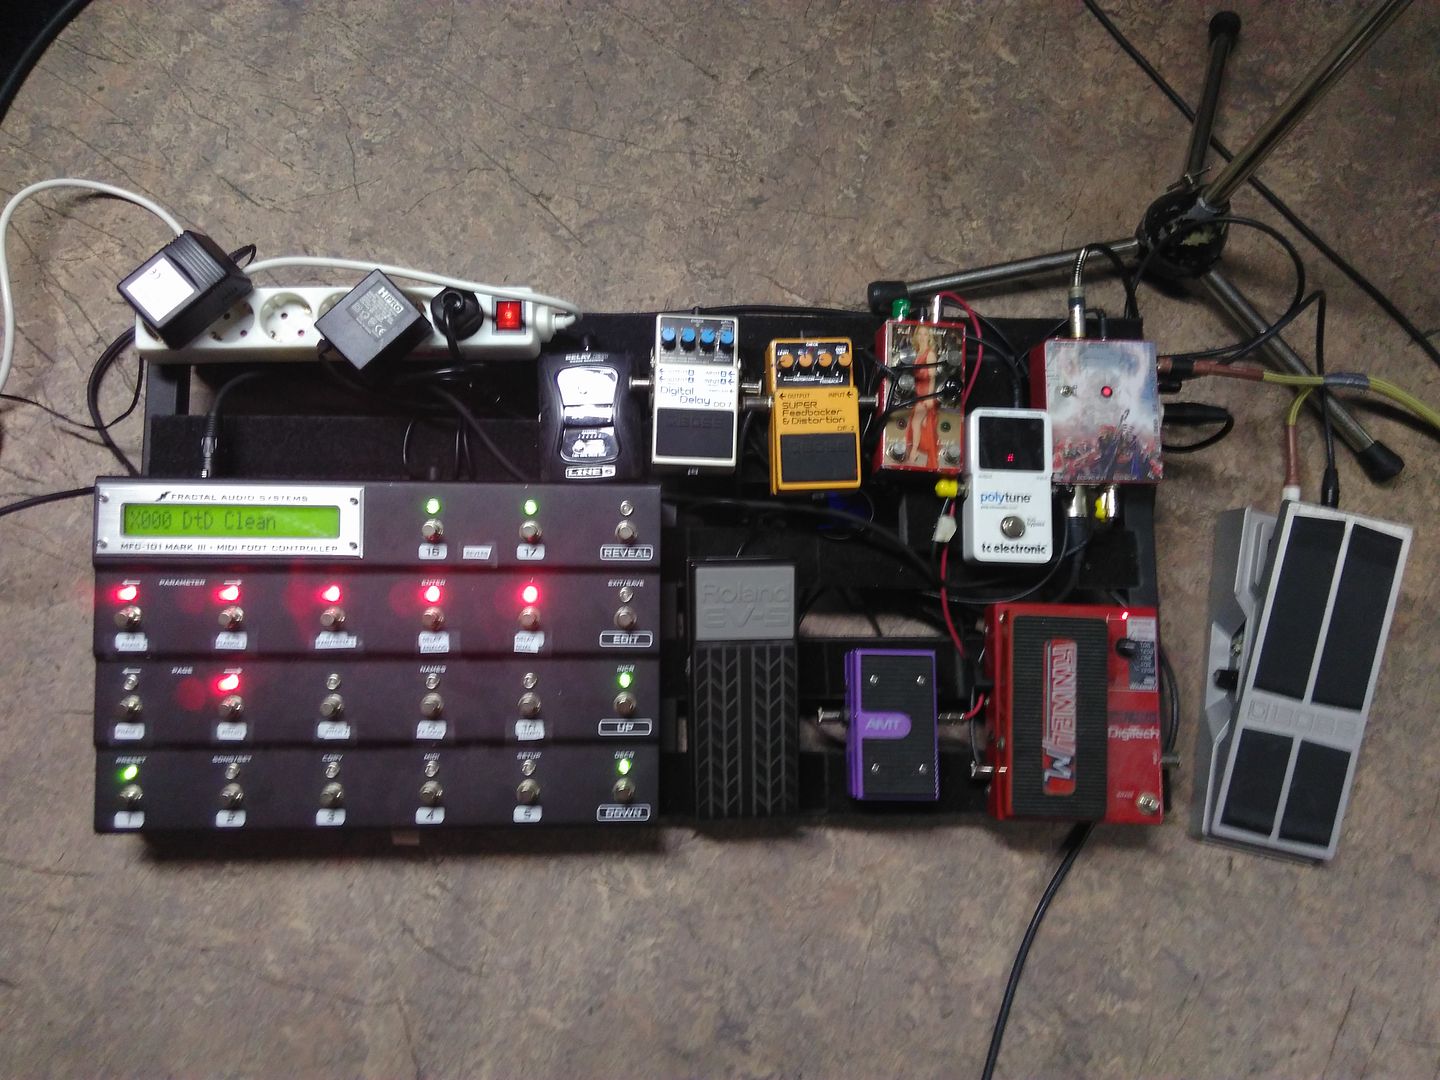
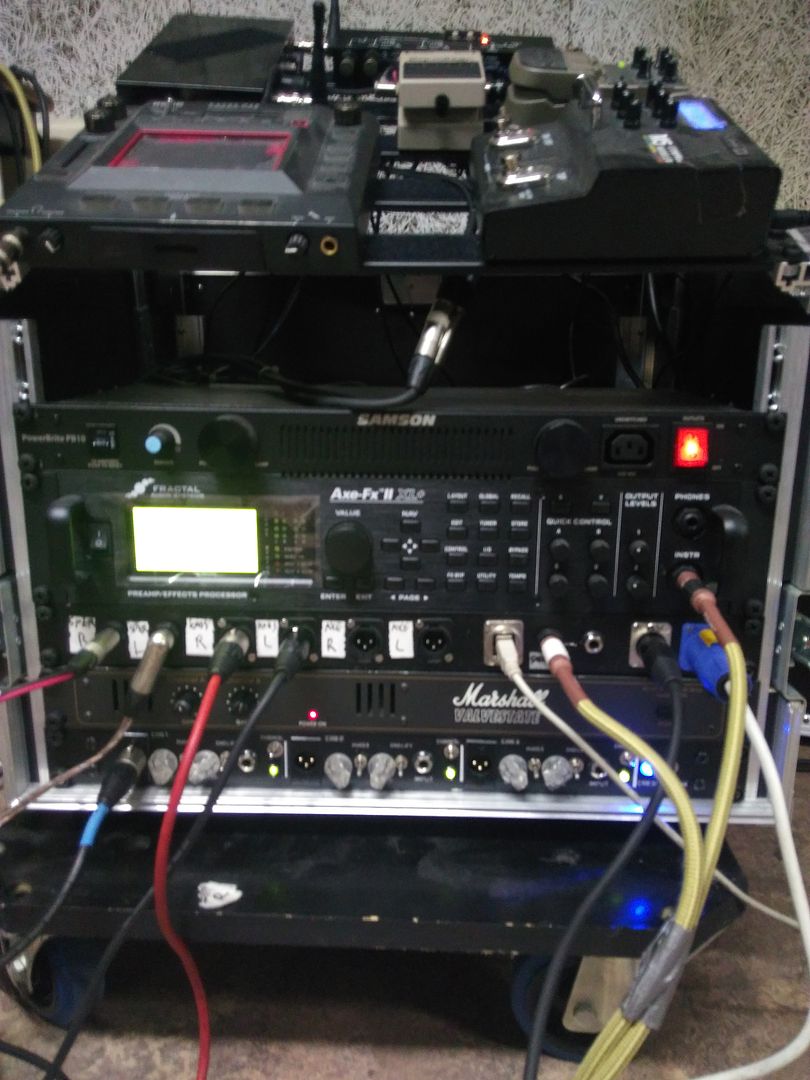
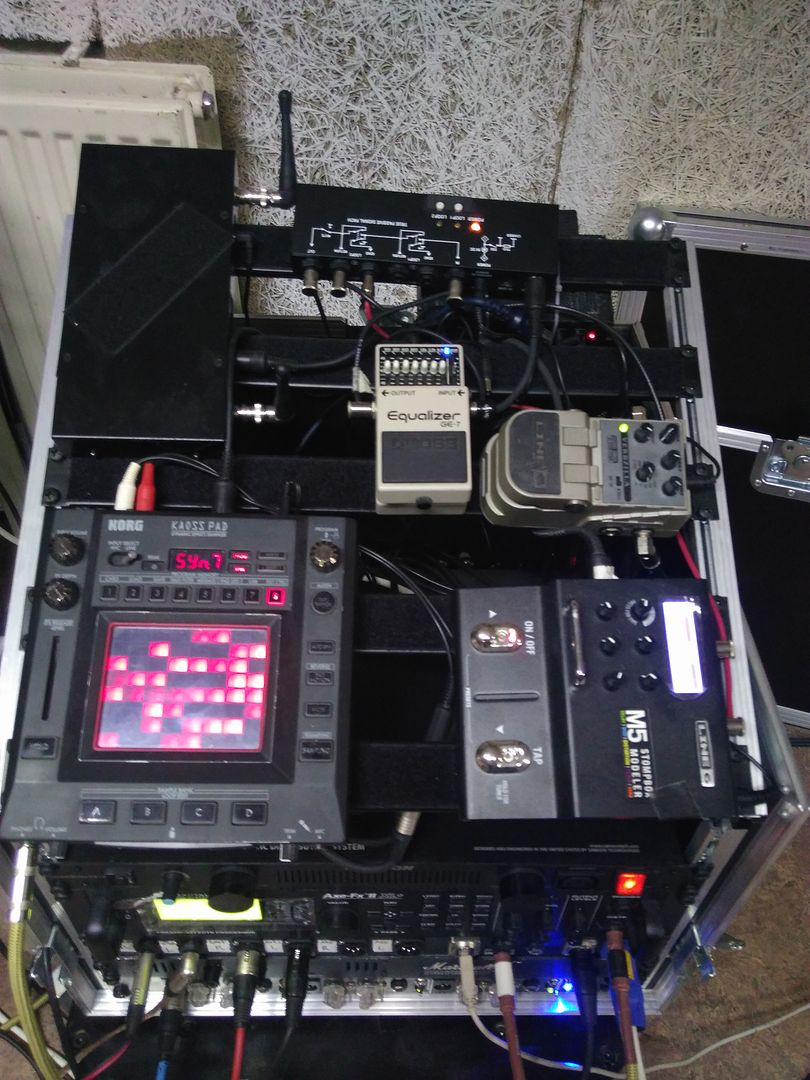
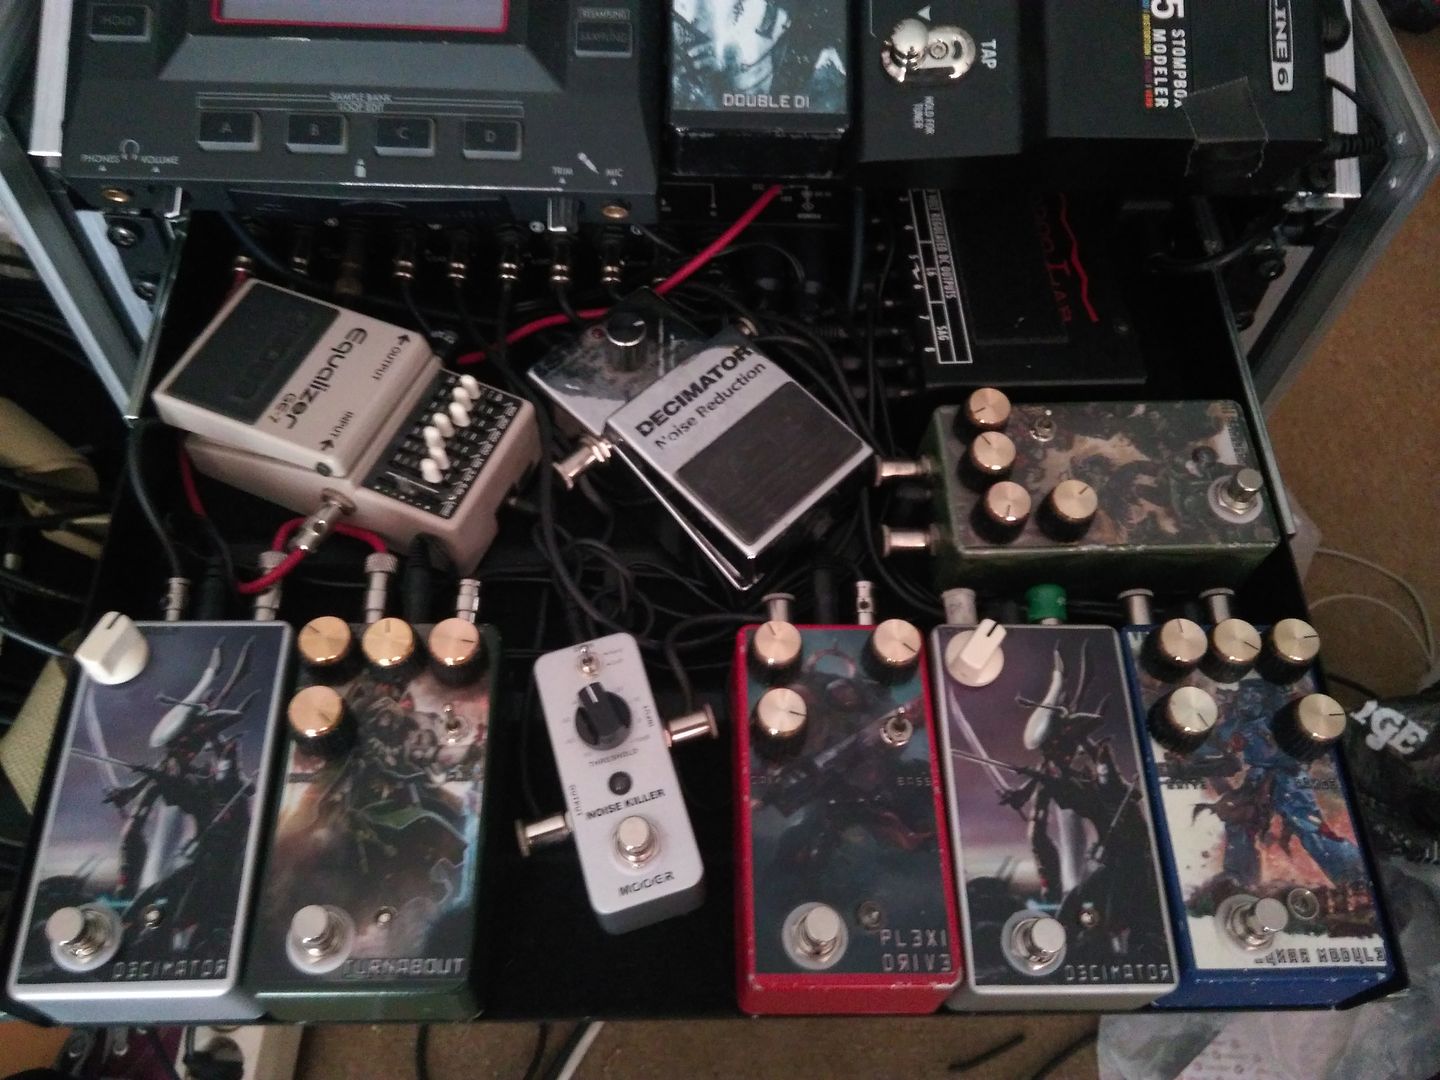
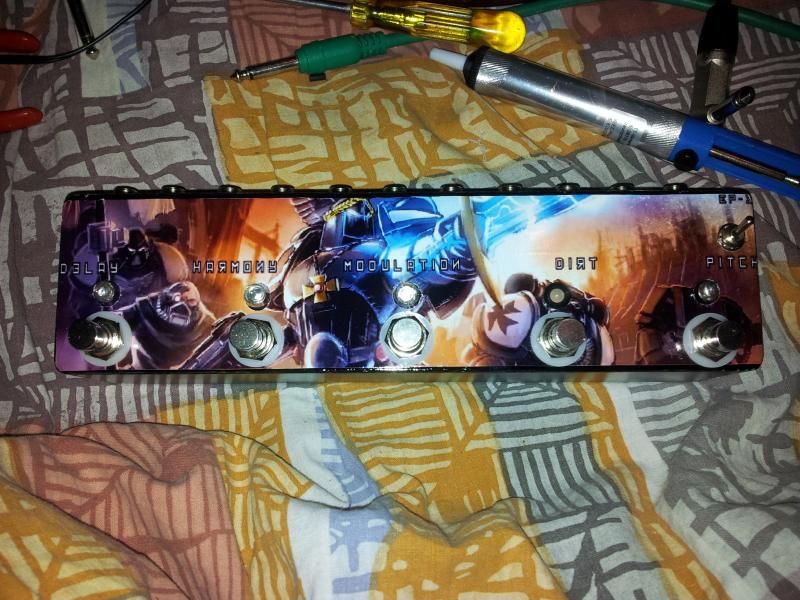
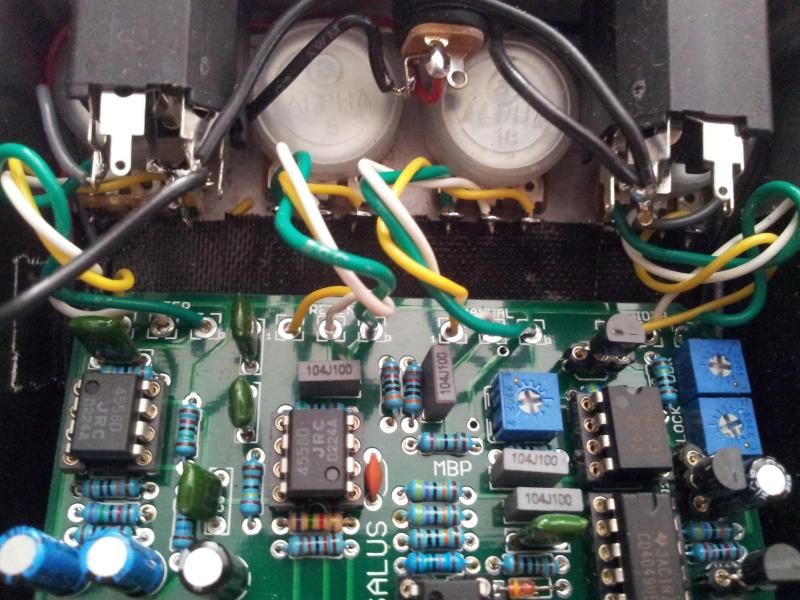
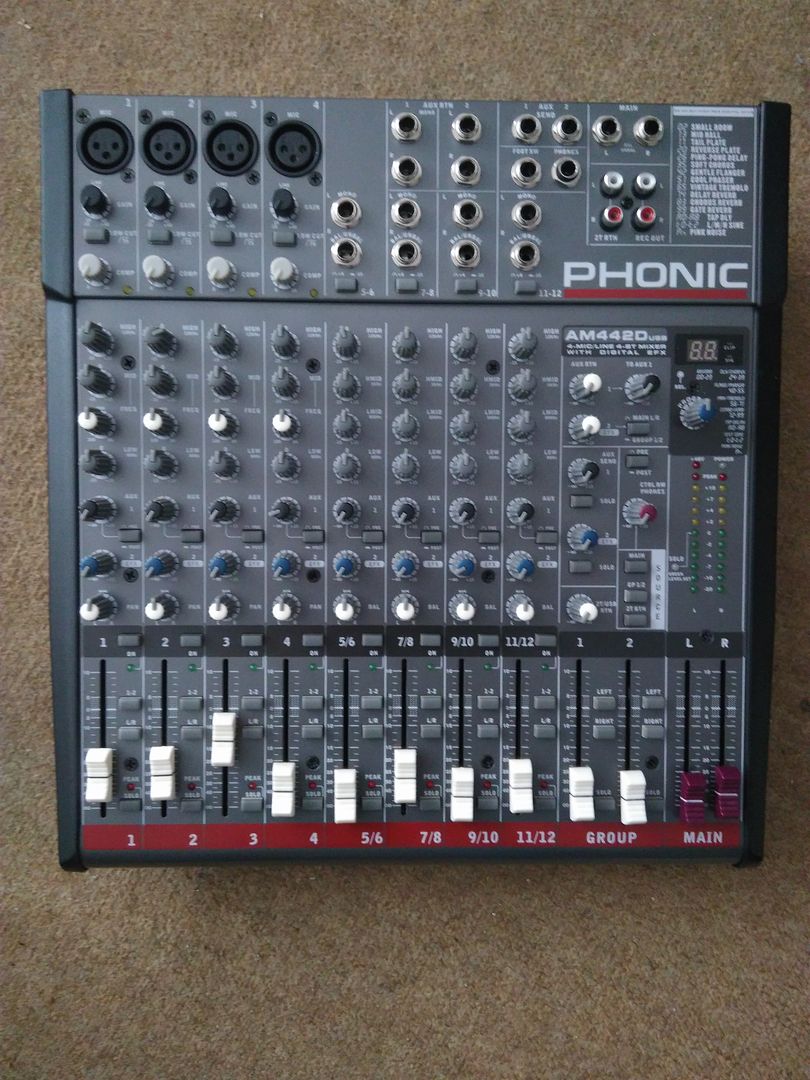
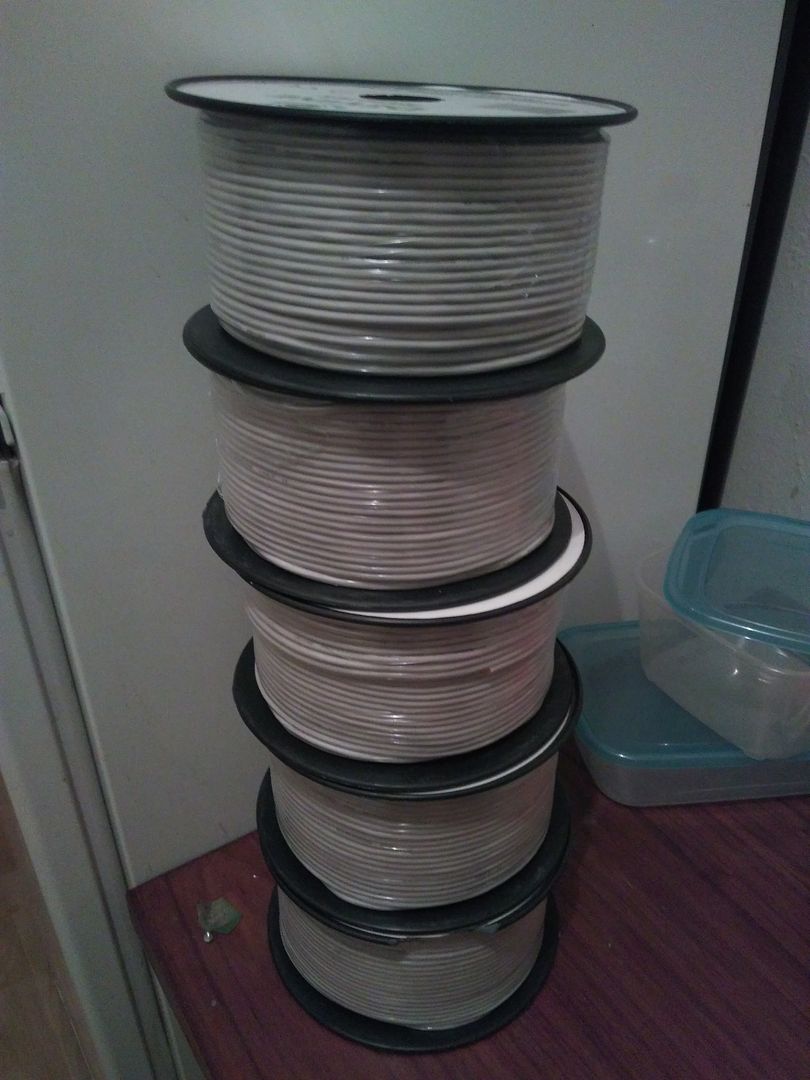
So glorious in fact that I decided to upgrade my mixer. This in turn so I can also plug in guitars and keyboards. I again went for a Phonic mixer as my old mixer has served me very well in the past, surviving a lot of abuse on the road. In that price range I could also have gone for Behringer, over my dead corpse, or a Soundcraft, which had me tempted but it didn't have an on/off button. Which might make sense in a studio setting, but for home use I do fancy the ability of turning my stuff off. On the plus side I now gained parametric mid EQ, Groups, mute buttons, inserts and USB out. Next plan is to build myself a cable snake so I can insert guitars and keyboards on the other side of my room without tripping over cables going through my room. Made possible because when I ordered 5 meters of microphone cable on a previous order they accidentally gave me 500 meters.  :o 8)

#2
Open Discussion / NDGRD
September 11, 2016, 12:30:43 PM
New Digital Guitar Rig Day


After a long period of trial and error and cold water feet I have sold my soul to the Digital Devil as I've finally managed to get my Axe-FX rig up and running.


One board to control it all!


Like with all my rigs this is not a straight forward thing. The rack contains three separate sound chains, Axe-FX, shimmer and Kaos Pad. It has my cab simulator which allows me to select between Axe-FX input or my old pedal board input into the Marshall 8008 poweramp.

The pedal board is pretty simple. A custom patch bay (top right) that has a switchable input between a Line6 G30 wireless input or regular cable input. Inside the patchbay is a AMZ buffer to split the signal. One leaves the board and goes into a volume pedal and then into the shimmer chain. The other goes into the board, from there into a custom switcher with two loops. Loop 1 has a Boss DD-7, which I use for looping, Loop 2 has the Boss DF-2 distortion feedbacker and the Whammy WH-1. From there the signal goes to the AMT WH-1 wah, into the TC Electronic tuner and then back into the patch bay into the Axe-FX.

The heart of the Machine


Below the Marshall poweramp is a custom made cab simular with 3 buffered inputs and balanced outputs. Each cab sim has a front and a back input, back is Axe-FX or shimmer, front is anything I want, but mainly my old pedal board. Once in there's an AMZ buffer that splits the signal into a regular output into the poweramp or a Marshall JMP1 cab sim into a THcustom balanced output into a XLR jack. Which should allow for both going straight into a mixing desk and still allow for a speaker cab on stage for stage sound.

Above the Marshall poweramp is a custom rack front panel with various in- and outputs. From right to left
- a powercon jack to supply power to the Samson powerbrite powerconditioner that powers everything
- a male XLR plug for the FASLINK connection to the MFC-101
- an empty jack, originally meant for something that fell by the wayside.
- a jack input for the shimmer path into the Verbzilla
- a USB jack to allow my laptop to be hooked up into the Axe-FX. Why on earth Fractal sticks the USB connection at the back of their units is a mystery to me, as it makes connecting a cable in the darkness that's usually the case of racks a friggin' nightmare. Let alone in the chaos of on stage.
- two XLR outputs for the Axe-FX into a mixing desk.
- two XLR outputs for the Kaoss pad to go into a mixing desk
- two speaker outputs for the Marshall 8008 poweramp.
No need to open the back of the rack, all access ports nicely and conveniently at the front.

Take it to the top


The top has a Kaoss Pad 3, getting MIDI signal from a Kenton wireless MIDI receiver, which in turn gets its input from a MIDI touch screen on my guitar via a Kenton wireless MIDI transmitter pack. Not the most modern technology at the moment as smaller MIDI wireless units are available. But they tend to be one on one units, whereas I have two Kenton transmitter packs which both work on the same receiver. From the Kaoss Pad the signal currently goes to two XLR outputs, but its unbalanced signal. I have a box to convert it into balanced using 2 THcustom balanced driver boards, but there's some major hiss on one of the boards that needs sorting out.
The Line6 Verbzilla I use for Shimmer. The Axe-FX could probably do it, but I like the idea of having a completely separate path. Plus it doesn't seem to be an easy path inside the Axe-FX. The signal enters the Verbzilla through the dedicated shimmer jack on the front access panel and goes into one of the cab simulator blocks at the bottom for both some cab simulation and balanced output.
The G-Lab MIDI switcher sits in the Axe-FX send return loop and has two loops. One is currently empty, the other has the Line6 M5. Because while the Axe-FX is awesome and can do a shitload of things, Line6 has some sounds the Axe-FX doesn't have and that I just want. The empty loop will probably be filled with an Eventide box, I'm not sure yet if it will be an H9 or my old Pitchfactor. Underneath the MIDI switcher is a Voodoolab Pedal Power Pro 2.

About the Axe-FX and MFC-101 switcher. It has taken me some time to get to know both units. There's 200 pages in the Axe-FX manual alone and some 100+ in the MFC-101 manual. Luckily, if you're used to Line6 software editing of your Pod units you can go a long way using the software editor for the Axe-FX, Axe-Edit. There is also a separate software editor for the MFC-101, but it's not free. And not very forgiving for novices. I recommend against buying it, although why its not free its a mystery to me. Definitely for advanced users only.

Coming from the Line6 Pod XT and HD500 the Axe-FX and MFC-101 do not compare favorably in user friendliness. Editing the Pods was a breeze compared to the Axe-FX. Of course it can do sooooo much more. Too much at times. And Fractal have made it way to hard to assign more then one function to a single switch, which was fairly easy in Pod Edit. I probably should learn to use the Scenes function for that, but that chapter excels in making things as complicated as possible.

Getting a clean sound was fairly easy at first, but getting a good drive sound was hard. I'm a drive pedals into a clean amp kind of guy and recreating that signal path in the Axe-FX was hard as it either didn't have the stomp box sims that I want, (no Stone Grey distortion, no MI Audio Crunchbox, no Wampler anything), and the ones that were on board never sounded as good as my real dirt boxes. Another problem I constantly ran into was CPU limits. It got to the point that I even installed a separate rack drawer with 4 of my favorite dirt boxes, each with a noise gate, to be used in the Axe-FX effects loop.


But that didn't really work out satisfactory either, as the dirtboxes were very loud and turning them down made them sound like shit, and the alternative, boosting the clean sound, didn't work out satisfactory either. So I went for a different approach. I took out the rack drawer (eliminating 10 kilos in weight) and changed my drive sound from drive pedals into a clean amp sim into a cranked Marshall JCM800 sim, boosted by a Tubescreamer sim for some more gain. Which is basically the sound I wanted to achieve via dirt boxes anyway. So having found my base sounds I could finally play around with all the other effects and I now have something that sounds usable. It was tested last week in rehearsal and overall held up pretty good.

I will probably continue to use my old pedal board, because if you want to jam in rehearsal looking for new sounds and songs presets are a hindrance whereas pedals give you complete freedom. But I'm also looking forward to see where the Axe-FX will take me, as I've barely begun to scratch the surface of what this thing can do.

In a way I've become full circle. 10 years ago I was using a multi-FX mostly, a Boss GX-700, then in 2007 I started to branch out into a simple pedal board for occasional small gigs, which grew out of control into the mother of all pedal boards. And now I'm back to using a multi-FX again.
#3
I have an old Roland Bass Cube 60 bass amp that I'd like to sell as I've not used for a long time. I just don't have a clue what I should ask for it. It's from the 80's, I've used it mostly at home, and mostly as a guitar amp because it had a direct out into a mixer capability that allowed me to play guitar with a headphone on so as to avoid angry mobs outside my door with pitchforks. It's got a flightcase cover to protect it and is loud as f***. Except for that one time I played bass in a metal band with a drummer who played even louder then the rest of the band combined.

I'm just looking for a realistic price. A Dutch auction site had one for €50, but that seems ridiculously low.

Some pics:


#4
Open Discussion / NRUCSD
March 21, 2016, 09:45:24 AM
New rack unit cab simulator day

My latest utility creation, a 19" cab simulator.


It has three cab simulators, balanced outputs and buffered splitters. It's designed to go into my rack, which has my poweramp. My stereo output from my pedal board will each go into its own cab sim units, with a 3rd one as a spare. The idea is to patch my board in, from there each input will go to a buffered splitter, with one signal chain going straight out to the back into a Marshall 8008 Valvestate poweramp for stage sound. Meanwhile the other signal chain will go to a Marshall JMP-1 cab sim circuit and from there to a THCustom balanced output driver and then to a XLR output so I can go straight into a mixing desk. For added fun each balanced output has a groundlift switch and a phase reversal switch, making this unit a sort of rack DI. Each cab circuit will also have an external input gain and output volume knob. For each channel there is also an alternative input in the back, with a 3PDT switch and bicolor LED to switch between front and back input. This way I can select between either patching in my pedal board (front input), or the future use of an Axe-FX modeler to build into my rack later on (back input). I'll probably use the XLR outs of the Axe FX but this way I can still use the 8008 poweramp for stage sound without having to rerout everything at the back.


#5
Arrived at work today, walked past the new acquisitions case in the university library and saw this:


\m/  8)

#6
General Questions / Rotary switches for the DigDug
January 24, 2016, 12:49:28 PM
Before the Great Crash somebody posted a thread asking where to get the 1p4t and 1p8t switches for the digdig 2, and specifically in Europe not from mouser. And one helpfull fellow actually provided some links. Does anyone still have those links? I was planning on getting them from Musikding but instead of becoming shortly available the status of the 1p8t switch on Musikding has changed to completely unavailable. I could really use an alternative.
#7
Build Reports / Risolle (Lovetone Meatball)
February 14, 2015, 05:26:21 PM
Finally gotten around to build AlanP's Risolle.


To keep to the smallest possible enclosure with topmounts only I chose a Hammond 1590Q enclosure. Unfortunately that meant I had to eliminate two of the six jacks. I decided to eliminate the FX send/return jacks as I figured this would be a pedal that I could squeeze in on my pedal board, but not the additional pedals for said pedal loop.


When I built this pedal I made a critical mistake. Several probably, but this is a huge one. When I fired it up the first time the envelope LED didn't do squat and the pedal wasn't doing much filtering either. I was getting signal but it was mostly clean sound with a tiny teensy bit of filtering. The envelope LED was apparently in wrong, it would seem the square pad was not the positive as I assumed it was from a million other builds. Not so smart designwise, but it happens quite a lot and a mistake that was easily fixed. Still the envelope LED wasn't working though. As did the LED's aimed at the LDR's. Something was seriously wrong here. Checking with a DMM I noticed that something was causing the LED's to ground. Turned out it was the jack for the intensity expression pedal. Apparently one absofragginlutely had to use an isolated jack instead of a normal jack. Otherwise ground loop city! I eliminated the contact the jack made with the enclosure and I finally measured current on the positive sides of the LED's. But still no light, nor envelope filtering going on.

More measuring and tracing the circuit followed with the DMM. Turned out that what I thought was the updown rotary switch (to which the LED's were supposed to be linked) was actually the range switch and vice versa. And now we get to the really embarrassing part. I am in the habit of when I'm putting pots and switches into an enclosure to follow the names on the artwork. I rarely work with PCB mounted pots and switches, usually preferring my own layouts. So when the time comes to boxing a pedal my modus operandi is to check a pot's value on the BOM, see what its function is on the BOM and place it on the corresponding hole by the label I created on the artwork. It works fine with wired pots. Not this time though.

Turned out the BOM I had used to create my artwork layout was an old one, one that AlanP had made for the prototype layout and one that had been significantly changed for the 1.4 version I was building. Like 5 pots had completely changed places. That's what you get for keeping different files on different machines. My files folder on my desktop had the PDF for the 1.4 version, which I had used to populate the board, but my laptop, which I had used as a basis for the artwork, had the outdated PDF.

D'OH!!!!

I had to desolder 5 of the 6 pots (only the blend was still in the same place), resolder them in the correct place and suddenly the LED's came on and there was envelope filtering going on! Sweet!  8) On the downside, with the exception of the blend pot and the moog switch probably none of my labeling matches the correct pot anymore.  :'(

Lesson learned: when using PCB mounted pots, always check that you're soldering the correct pots in the right places! Check and check again! And always check that you're using the latest BOM! Here endeth my embarrassing lesson.

#8
Build Reports / Custom pedal looper
January 27, 2015, 02:13:12 AM
New custom looper day!


I will be upgrading this mess of a board to a new pedal train board soon and figured it could use a new looper to minimize current tap dancing.


The current custom looper I used only had 3 loops, pitchshift, dirt and modulation and it was becoming a chore having to do the extra tapdancing to handle the delays and harmonizer. A new looper was needed. The main problem being that my harmonizer and delays are run in stereo. So a solution had to be found to able to switch in stereo with a single stomp, which seemed to be rare as all DIY switching seems to be mono, and of course the signal had to be split at some point in the chain.

Ultimately I decided on the following chain that I felt was necessary for my needs.
- Loop 1 pitchshift, mono: mostly Whammy and the Bit Commander, the latter will probably be replaced by an EHX Pitchfork
- Loop 2 dirt, mono: not so much a single on/off loop as an double A/B loop which switches between a loop with my dirt pedals and a loop for clean sounds. Oddly enough I also placed a Big Muff ?Lady clone in this loop set for leads Preamp Send/Return, mono: I've been using an AMT F1 preamp as the basis of my sound lately between dirt and basically the rest. The AMT gives me the sound of a Fender Twin and allows me to either go directly into a mixing desk using its cab sim simulator or go directly into a set of EHX Magnum 44 power amps and whatever cabinets are available. Thus eliminating my need to haul extra amps along. Which I've done quite enough over the years, thank you very much!
- Loop 3 modulation, mono: Everything that goes swirly, woosh and chop chop. I'm thinking of adding a TC Electronic Dreamscape to add flanger, chorus and vibrato for even more swirly and woosh.
- Loop 4 harmonizer, stereo: Eventide Pitchfactor. Expensive as hell, but its one of the few harmonizers that will do more exotic scales then just major and minor. Does also a shitload of other stuff that scares me. Sometimes I lay awake at night, thinking how much it can do. And if it watches me thinking of it. I always catch it watching me......
- Loop 5 delays and reverb: because I worship at the altar of the Edge so I'm a delay whore. The nova delay is awesome! It would be even more awesome if it did both filter delay and had a looping function, then I could chug the Line6. Which is both huge and demands a separate power source.

This in itself would have been a herculean task, 21 jacks had to be wired up, but no, I had to be even more ambitious. There obviously had to be a splitter between loops 3 and 4 to go from mono to stereo. I choose the AMZ 2 channel splitter (http://tagboardeffects.blogspot.nl/2014/08/amz-2-channel-splitter.html). I also wanted to include a repeater buffer that would come after loop 2 so my dirt boxes would play nice with the stuff that would come afterwards. Luckily my only exploits into designing a vero layout was such a thing exactly (http://i140.photobucket.com/albums/r19/Muad_zin/repeaterbufferV4.jpg). For further madness I also wanted to include an EP-3 preamp (http://tagboardeffects.blogspot.nl/2014/05/a-pair-o-preamps-echoplex-and-tillman.html), because I like things that give more brightness and clarity to my guitarsound, because I'm not into bassy dark sounds. Or maybe I'm just getting deaf (you think the sound at a concert is too bright and shrill? Explanation: a FOH sound engineer with hearing damage (higher frequencies are the first to go)). Anyway, I chose the version with the 18v chargepump for extra headroom. While the buffer and splitter are always on I decided to make the preamp switchable. In case it is too much (and I run into a sound engineer whose hearing is still intact). With so many gizmos I'd reckon that this would make this looper also a multi effect. Because I couldn't find any design for a stereo switch I settled on using a 4PDT switch and wire that up as a double millenium switch, with only one channel controlling the LED. With that much gizmos and stereo routing the wiring could only be a nightmare. And it was.


It took me two full days of soldering just to hook everything up. I spent the entirity of christmass working on this thing. For background entertainment (because I like to have some television on during soldering, as I can generally get the gist of whats on whilst doing something else) I watched (or oldered) during the entire Hobbit trilogy (extended versions of the first two installments) and the entire last season of Doctor Who.

After two days I was finally finished with the inside and it was time to start plugging things up to see if everything was working. With lots of apprehension and dread I fired it up and to my surprise, it being the most complicated build I ever made, there were only a few minor complications that were easily fixed. I have had much simpler circuits give me much greater headaches by comparison. Oddly enough the biggest headache was the LED switching as switching off the LED of loop 1 caused all the other LED's to go off as well. Weird shit that I solved by separating the grounding between the loop 1 LED and the others.

And then it worked.


Didn't have any more decal paper left at that time to do a proper cover so I went for a simpler look at first. But I didn't like it so after I finally managed to get some decal paper I went for something decent. Next stop, unpacking that huge pedal train Grande box standing in my hallway! NHPBD to follow.
#9
Open Discussion / Error in Dirtbaby build doc
January 12, 2015, 02:59:06 PM
It would appear that the Blend pot is missing from the BOM and shopping list. Which appears to be 10Kb judging from the schematic.
#10
Open Discussion / PCB mounted pots/switches/LED's
January 08, 2015, 01:54:16 AM
Am I the only one who doesn't like them? Aside from being stuck to someone else's drill layout that is not always to my liking? I know PCB mounted pots, switches, and LED's significantly reduce the risk of making errors, not to mention get rid of a lot of spaghetti wiring. But I've found that once you do make a mistake and solder the wrong pot or switch in the wrong place you're really boned. Desoldering or resoldering wires is peanuts, but desoldering a pot, not as much. And heavens forbid if you have to desolder a switch. Might as well throw away the PCB, unless you have Godlike desoldering skills.

On a side note, for potential future use, if anyone has any good tips or tricks to desolder pots and switches from PCB's, feel free to share.
#11
General Questions / true bypass stereo switching
December 07, 2014, 07:18:01 AM
I'm planning on doing a new looper for my pedal board as I'm growing tired of tapdancing. But it has to include some stereo looping because I run my delays and reverb in stereo. I'd rather not have to press two switches so I would prefer to use a single switch to activate the stereo loops. Does anybody know how to wire a switch for true bypass stereo loops? I assume that a normal 3PDT won't be enough, so could I do it with a 4PDT switch and how would I have to wire it?

Thanks in advance.
#12
I've got a Pork Barrel that won't do any chorus. It will pass normal sound when activated, but that's as far as it goes. I've added some mods to this thing, the deep mod and the vibe mod. When I activate the vibe mod by the way all signal stops altogether.

Some gratuitous gutshots to aid in troubleshooting:


Wiring for the pots is always color coded in my builds, yellow for lug 1, white for lug 2 and green for lug 3. I'm huge on color coding my wiring, makes things more manageable. To and from board is always purple, In/out always grey, red for power,  black for ground, orange, blue and brown for switches and mods.

Any help to get this one back on the road is very much appreciated!
#13
Tech Help - Projects Page / Collosalus won't flange
July 28, 2014, 07:03:55 AM
I've got a Collosalus that just won't flange. It will pass normal sound when activated, but no flanging whatsoever. I followed the biasing instructions and set the various trimpots to their starting positions, then I start turning BIAS and at best I only get some slight hiss added to the mix.

Some gratuitous gut shots to aid in troubleshooting:


I really, really, REALLY dislike using sidemounts so built it using topmounts. The downside of course is that I can't use board mounted pots.


Wiring for the pots is always color coded in my builds, yellow for lug 1, white for lug 2 and green for lug 3. I'm huge on color coding my wiring, makes things more manageable. To and from board is always purple, In/out always grey, Red for power and black for ground.


Any help to get this beast going is very much appreciated!


#14
Open Discussion / MN3005 vs V3205
June 13, 2014, 06:05:38 AM
It probably goes without saying that the MN3005 is the BBD delay chip to have in one's analog delay. Too bad you will probably find gold at the end of a rainbow together with mystical unicorns first before getting some affordable and reliable MN3005's. That leaves only the V3205. Which brings me to the question, how does it compare to the MN3005? Oddly enough Madbean's own build guides seem to differ. The Aquaboy guide seems to scoff at the V3205, calling it the worst of the bunch and seems to prefer the shorter delay timed B3208 instead. The old Dirtbag build guide on the other hand seems to say that the difference is negligible.

So how does the V3205 compare to the MN3005? Is it a difference worth spending 10x as much for, or is it like the original WH-1 whammy and the WH-4 re-issue, which I found to be perfectly fine to the original, as I own both of them. If you had to put an honest percentage on them, how much would the V3205 get me to the tone of the MN3005?
#15
First, as it is my first post here, greetings to everyone here. Some of you I probably already know from BYOC. Now, to business.

I've built a Skreddy P19 using a Mudbunny board and when I fired it up it had issues with two of the pots. Sustain was working but Tone and Volume were doing nothing at all. I tried a different pot for volume, same issue. Eventually I redirected the ground wire from lug one off the board and directly to the output and volume finally worked as it should. So apparently there's something wrong with the ground on the board. Which might cause the tone pot to malfunction as well. My question to you fine gents is, where in the circuit might the culprit be?

The P19 is mostly a Big Muff with different values, but there are a few additions to the standard Big Muff circuit. TThere's an extra 2n cap between lugs 3 and 2 of the sustain pot (added to the pot), the cap and resistor between Sustain pot and Q2 are reversed from a normal muff (done to board), there's an extra 100r resistor between lug 2 of the tone pot and C12 (added between pot and board), there's the mid switch between the collector of Q3 and lug 3 of the tone pot and there's an additional 560pf cap between the output cap and volume pot going to ground (added to pot).

Finally a link to the P19 schematic:
http://1.bp.blogspot.com/-u2ndmxs2Eys/T47bHDJutuI/AAAAAAAABS0/v3r6znbrGtQ/s1600/skreddy_p19_schematic.gif